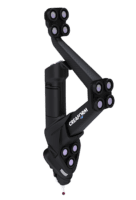
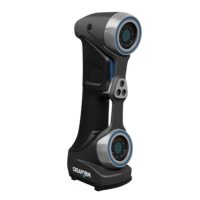
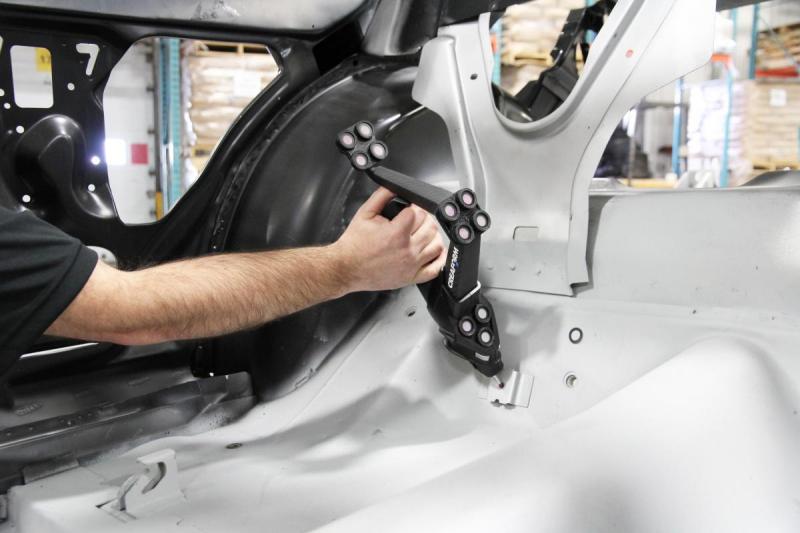
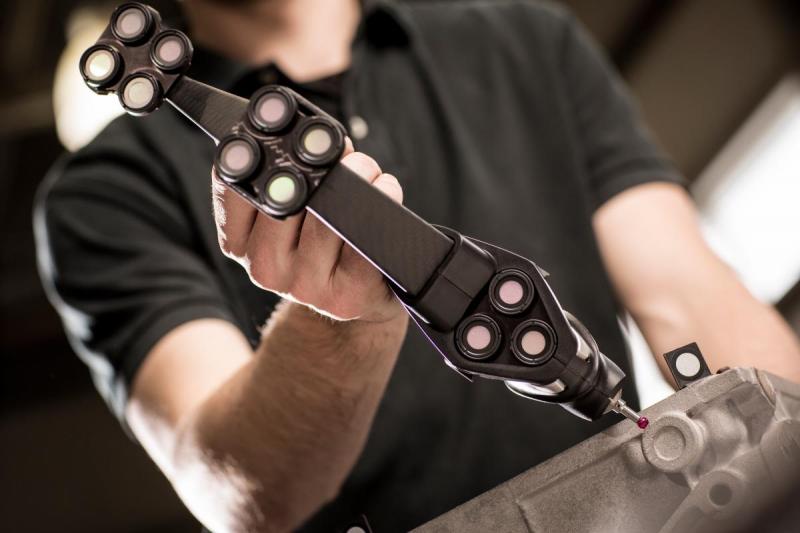
HandyPROBE Next
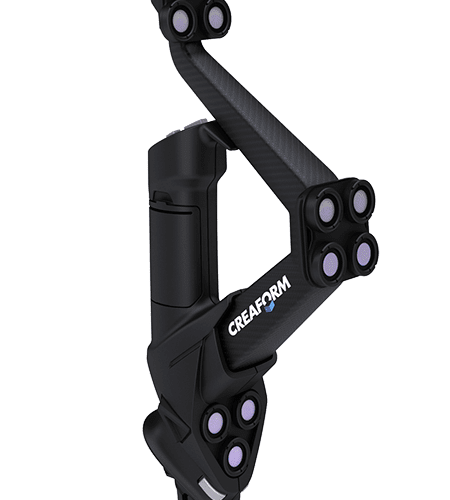
CREAFORM
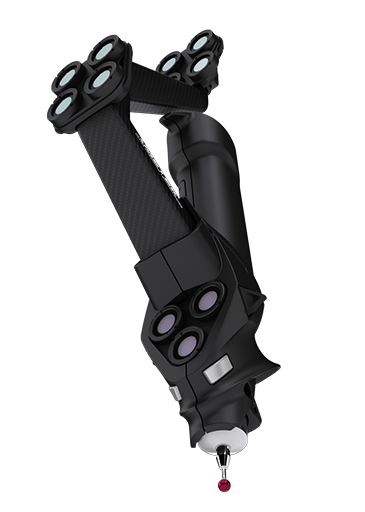
HANDYPROBE NEXT
The Next Generation of Handheld Optical Coordinate Measuring Machines (CMMs)
The HandyPROBE Next portable CMM provides excellent measurement accuracy while being resistant to any environmental instabilities. Without a rigid measurement setup, this portable CCM solution outperforms traditional CMMs on the shop floor.
For Fast, Accurate and Portable CMM Inspection in Any Environment
The HandyPROBE Next is a new generation of CMM inspection equipment that is designed to be portable and versatile. With this handheld metrology tool you can capture measurement data that is insensitive to the instabilities of any environment. Free of any rigid or extensive setup, the HandyPROBE portable CMM can be moved at any time wherever it is needed, and produce high-quality inspection data.
Explore the HandyPROBE Next by watching the video
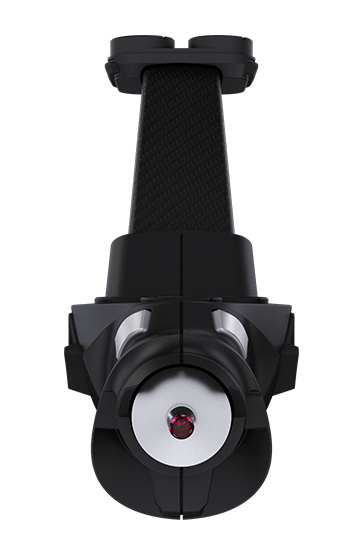
New Features
- 2 times more accurate
- Instant measurement
- Greater volume of 16.6 m3 (586 ft3)
- Sturdy design for shop-floor hardware reliability
- Multi-function buttons for easier interaction with the software
TruAccuracy
Metrology-Grade Measurements
- Accuracy of up to 0.020mm [0.0008 in]
- High repeatability
- Traceable certificate
Dynamic Referencing
- Optical reflects used to create a reference system that is “locked” to the part allowing users to move the object any way they want during the measurement process
-
Volumetric accuracy of 0.044mm [0.0017 in]
-
Accurate measurement of parts ranging from 0.2 – 10 meters in size
-
No accuracy drift over time with easy-to-perform field calibration procedure
TruSimplicity
No Rigid Setup Required
- Part and system can be moved freely time during measurement
Automatic Alignment
- Optical reflectors allow for repetitive inspection without re-alignment
-
Ergonomic, wireless probe
-
Greater & easily extendable measurement volume
-
Optional scanning capabilities by adding the MetraSCAN 3D
-
Multi-function buttons for easier interaction with the software
-
Short learning curve and intuitive operation
TruPortability
Portable CMM
- System can be easily brought to the part
Portable CMM Case
- System, tripod and accessories fit into a single portable carrying case
-
Optimized for use on the shop floor
-
Arm-free optical scanning system
Applications
Industries
Specifications
HandyPROBE Next |
HandyPROBE Next Elite |
|
Accuracy |
Up to 0.025 mm [0.0010 in] | Up to 0.020 mm [0.0008 in] |
Single Point Repeatability |
9.1 m3 (320 ft3) (4) = 0.060 mm [0.0024 in] 16.6 m3 (586 ft3) (4) = 0.088 mm [0.0035 in] |
9.1 m3 (320 ft3) (4) = 0.044 mm [0.0017 in] 16.6 m3 (586 ft3) (4) = 0.058 mm [0.0023 in] |
Volumetric Accuracy |
9.1 m3 (320 ft3) (4) = 0.086 mm [0.0034 in] 16.6 m3 (586 ft3) (4) = 0.122 mm [0.0048 in] |
9.1 m3 (320 ft3) (4) = 0.064 mm [0.0025 in] 16.6 m3 (586 ft3) (4) = 0.078 mm [0.0031 in] |
Volumetric Accuracy with MaxSHOT 3D or C-Link |
0.044 mm + 0.025 mm/m [0.0017 in + 0.0003 in/ft] 0.060 mm + 0.025 mm/m [0.0024 in + 0.0003 in/ft] |
0.044 mm + 0.015 mm/m [0.0017 in + 0.00018 in/ft] 0.060 mm + 0.015 mm/m [0.0024 in + 0.00018 in/ft] |
Measurement Rate |
Measurement Rate80 measurements/s |
Weight |
Weight5.7 kg [12.5 lbs] |
Dimensions |
Dimensions1031 x 181 x 148 mm [40.6 x 7.1 x 5.8 in] |
Operating Temperature Range |
Operating Temperature Range5–40°C [41–104°F] |
Certifications |
CertificationsEC Compliance (Electromagnetic Compatibility Directive, Low Voltage Directive, RoHS 2 Substance Restrictions Directive), IP50, WEEE |
