NOTICE:
The Stainless Steel Build Platform or Build Platform 2 is required for printing with Alumina 4N Resin. When printing with the Build Platform 2, printed parts cannot be released using the part release paddles.
Alumina 4N Resin has unique printing and post-processing requirements compared to other Formlabs resins. Read this Quick Start Guide before attempting to print with Alumina 4N Resin.
NOTICE:
To safely handle resin, follow Formlabs’ general safety and handling recommendations and read and understand the safety data sheet (SDS).
At room temperature, Alumina 4N Resin has a shelf life of three months. Refrigeration at -10–4 °C can add up to twelve months of additional shelf life. We recommend refrigerating Alumina 4N Resin.
Required Resources made by Formlabs
- Compatible Formlabs SLA printer with up-to-date firmware
- PreForm software (most recent version)
- Stainless Steel Build Platform or Build Platform 2
- Form 3 Resin Tank V2.1
- Alumina 4N Resin cartridge with wiper
- Ceramic Wash Solution
- Form Wash, Form Wash L, or Finish Kit
Required Resources made by Third Parties
- Kiln capable of at least 1600° C
- Alumina setter plates
- Additional burnout kiln and refrigerator, highly recommended.
Ensure you use the latest PreForm version and the most recent firmware. Formlabs strongly recommends the following checks for your printer before printing with Alumina 4N Resin:
- LevelSense calibration
- Z-Height calibration
Access these features by tapping Settings > Maintenance > Calibration.
Preparing Your Model
Follow the instructions in the support article Design Guidelines for Alumina 4N Resin. Alumina 4N Resin, like other ceramics, shrinks when fired. Design parts using CAD software to accommodate 21.8% horizontal shrinkage and 26% vertical shrinkage.
To prepare a model for printing in PreForm:
- Open a model.
- Select the resin, resin version, and the desired layer thickness.
- Orient to preserve fine details.
- If you haven’t done so already, scale your CAD or design software model to accommodate part shrinkage during firing in your chosen part orientation. Reimport that model in the same orientation when you are done.
- Generate supports.
- Send the print job to the printer.
Printing with Alumina 4N Resin
NOTE: Print times for Alumina 4N Resin are considerably longer than those for other resins.
- Shake the Alumina 4N Resin cartridge for a few seconds to ensure the resin is mixed completely.
- Place the wiper that came with the cartridge in the resin tank following the process shown on the tank sticker.
- Prefill the tank with approximately 300 mL of Alumina 4N Resin.
- Monitor the printer during initialization for any issues until the printing screen appears.
If there are any issues during the print, check the tank for any debris and remove it.
Post-processing
Wash the printed parts for 2 minutes in Ceramic Wash Solution. Use a separate wash bucket to prevent loose ceramic particles from adhering to non-Alumina 4N parts. Gently blow dry parts with air, focusing the airflow on corners and crevices. Wipe accessible surfaces dry with a paper towel. Minimize how much time the printed part is covered in Ceramic Wash Solution to prevent cracking.
NOTE: Do not allow Alumina 4N Resin parts to come into contact with water or IPA, as this will cause cracking. Only wash Alumina 4N Resin in the Ceramic Wash Solution.
Once parts are removed from the build platform, the build platform and any peripherals can be cleaned with IPA or soapy water to remove liquid resin. Rafts can be removed using a spatula and a hammer.
CAUTION
Finishing tools may have sharp edges. Use with care.
Parts printed with Alumina 4N Resin are easy to sand in their green state. Dry sand the parts or use the Ceramic Wash Solution as a lubricant.
Firing Alumina 4N Resin
Dry parts for 24 hours before firing. Green parts can be stored or shipped as necessary.
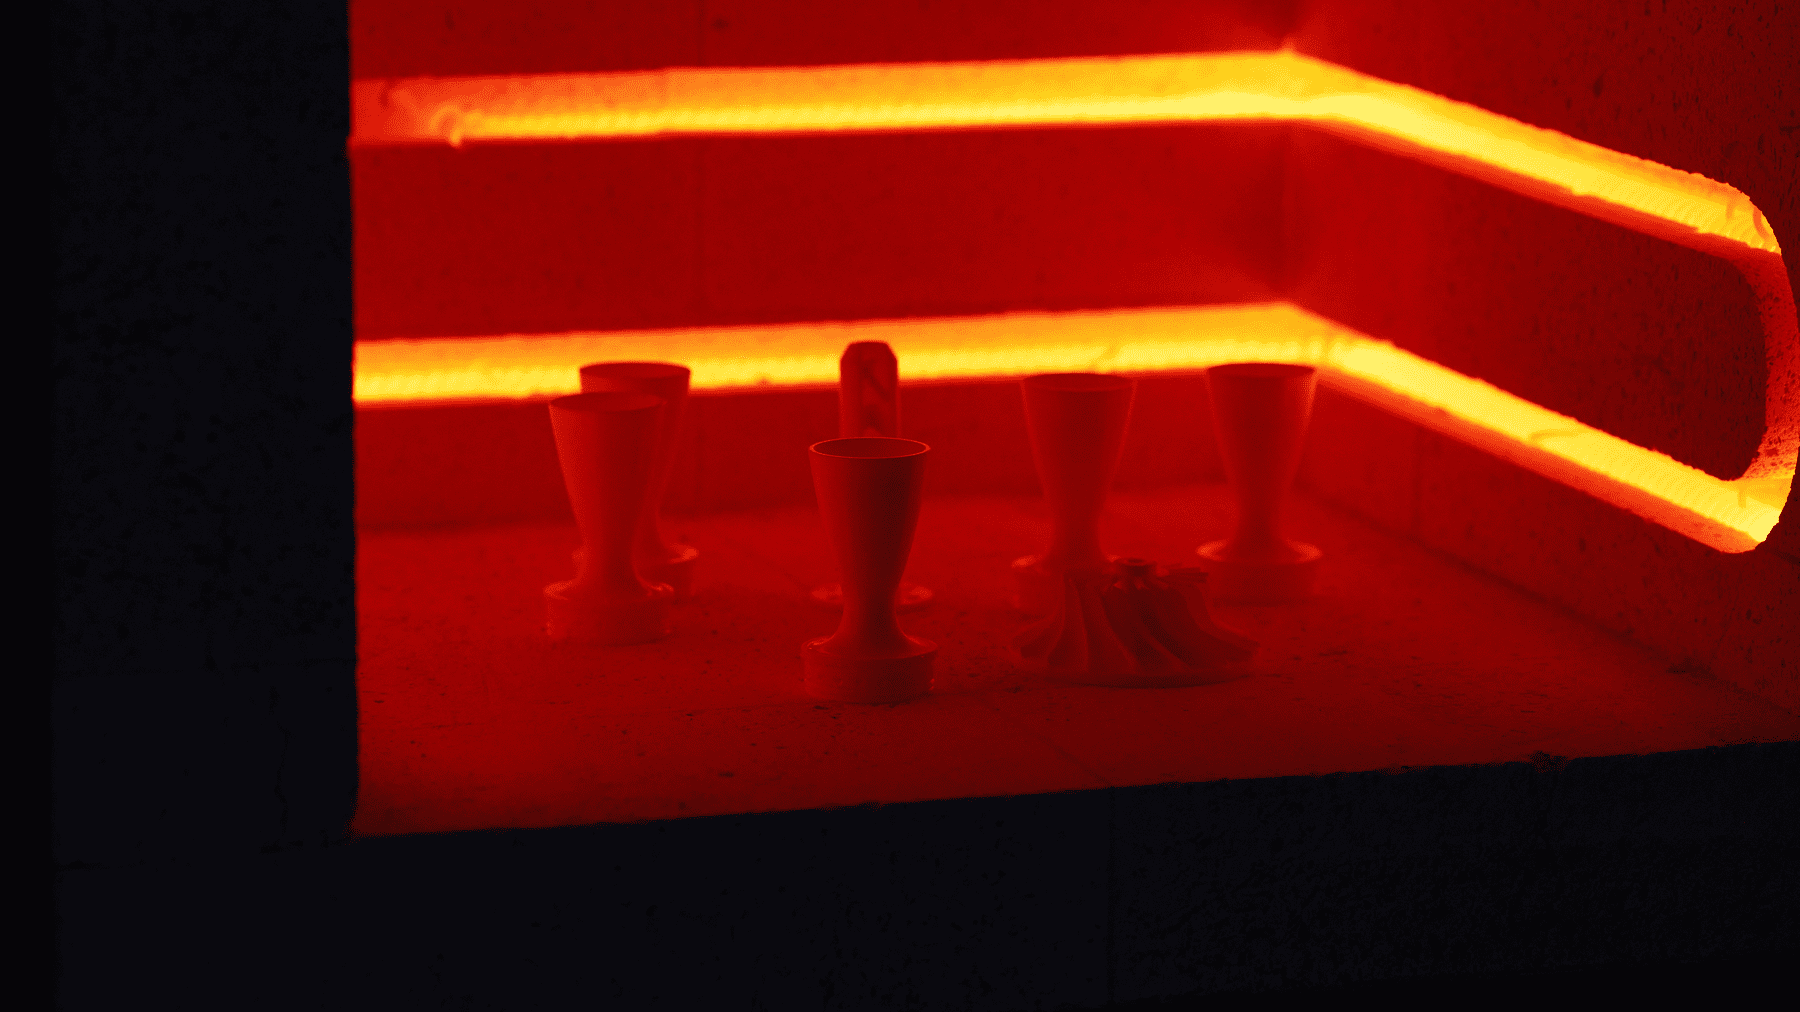
Fire parts on setter plates rated for a minimum of 1700 °C. Formlabs recommends the two furnace schedules below, but several options for firing exist.
