
Materialise 3-matic
Master Design for Additive Manufacturing: From Complex Mesh Editing to Lightweight Lattice Optimization
Optimize 3D designs with Materialise 3-matic. Create lattice structures, convert mesh to CAD, and automate workflows for additive manufacturing. Request a quote today!
Create the Best Designs for 3D Printing
In order to obtain design modifications on the mesh level, you require a resourceful and complex tool that allows you to take advantage of all the capabilities and advantages of 3D printing. And a great design for Additive Manufacturing usually starts with a CAD design, a topology optimized model, a simulation, or scanned data as input.
With Materialise 3-matic, you can rectify rough data for simulation or convert the mesh back to CAD. Moreover, it allows you to enhance your design for Additive Manufacturing by creating 3D textures, lattice structures and conformal structures. Last but not least, 3-matic also includes scripting automation for an easy way to create ranges of validation samples and improve overall productivity.
Available Modules
Want to take full advantage of the design freedom made possible with additive manufacturing processes? With Materialise 3-matic you’re empowered to apply functional textures, lightweight parts, and create complex lattice structures to improve part performance.
|
|
What is great about Materialise 3-matic?
Unheard-of Freedom of Design
With our design optimization software, you can fully personalize your products and create models that were impossible to produce with traditional manufacturing methods.
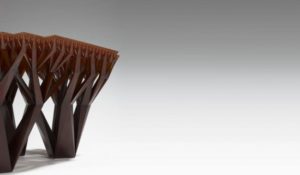
Save Time and Costs with Lattice Structures
Create stunning lattice designs with lower material costs and less printing time. These optimized lattices outperform solid blocks of material in so many ways.
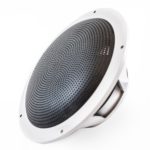
Master Part Properties
Master the physical properties of your part. Change aerodynamic, acoustic and cushioning properties or characteristics, increase grip or control the density of your part with porous structures.
Rely on a Complete Platform
Materialise 3-matic is integrated with Materialise Magics and other solutions from our extensive software suite.
Design Optimization
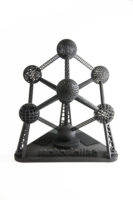
Materialise 3-matic is a 3D modeling software program that enables design optimization and modification on mesh level, using CAD designs, scanned data and topology optimized models as a starting point.
Past-Topology Optimization
You can redesign rough surfaces outputted by topology optimization with Matrialise 3-matic thus avoiding complicated freeform modeling work when moving to CAD, as well as more complexity and possible stress concentrations for FEA.
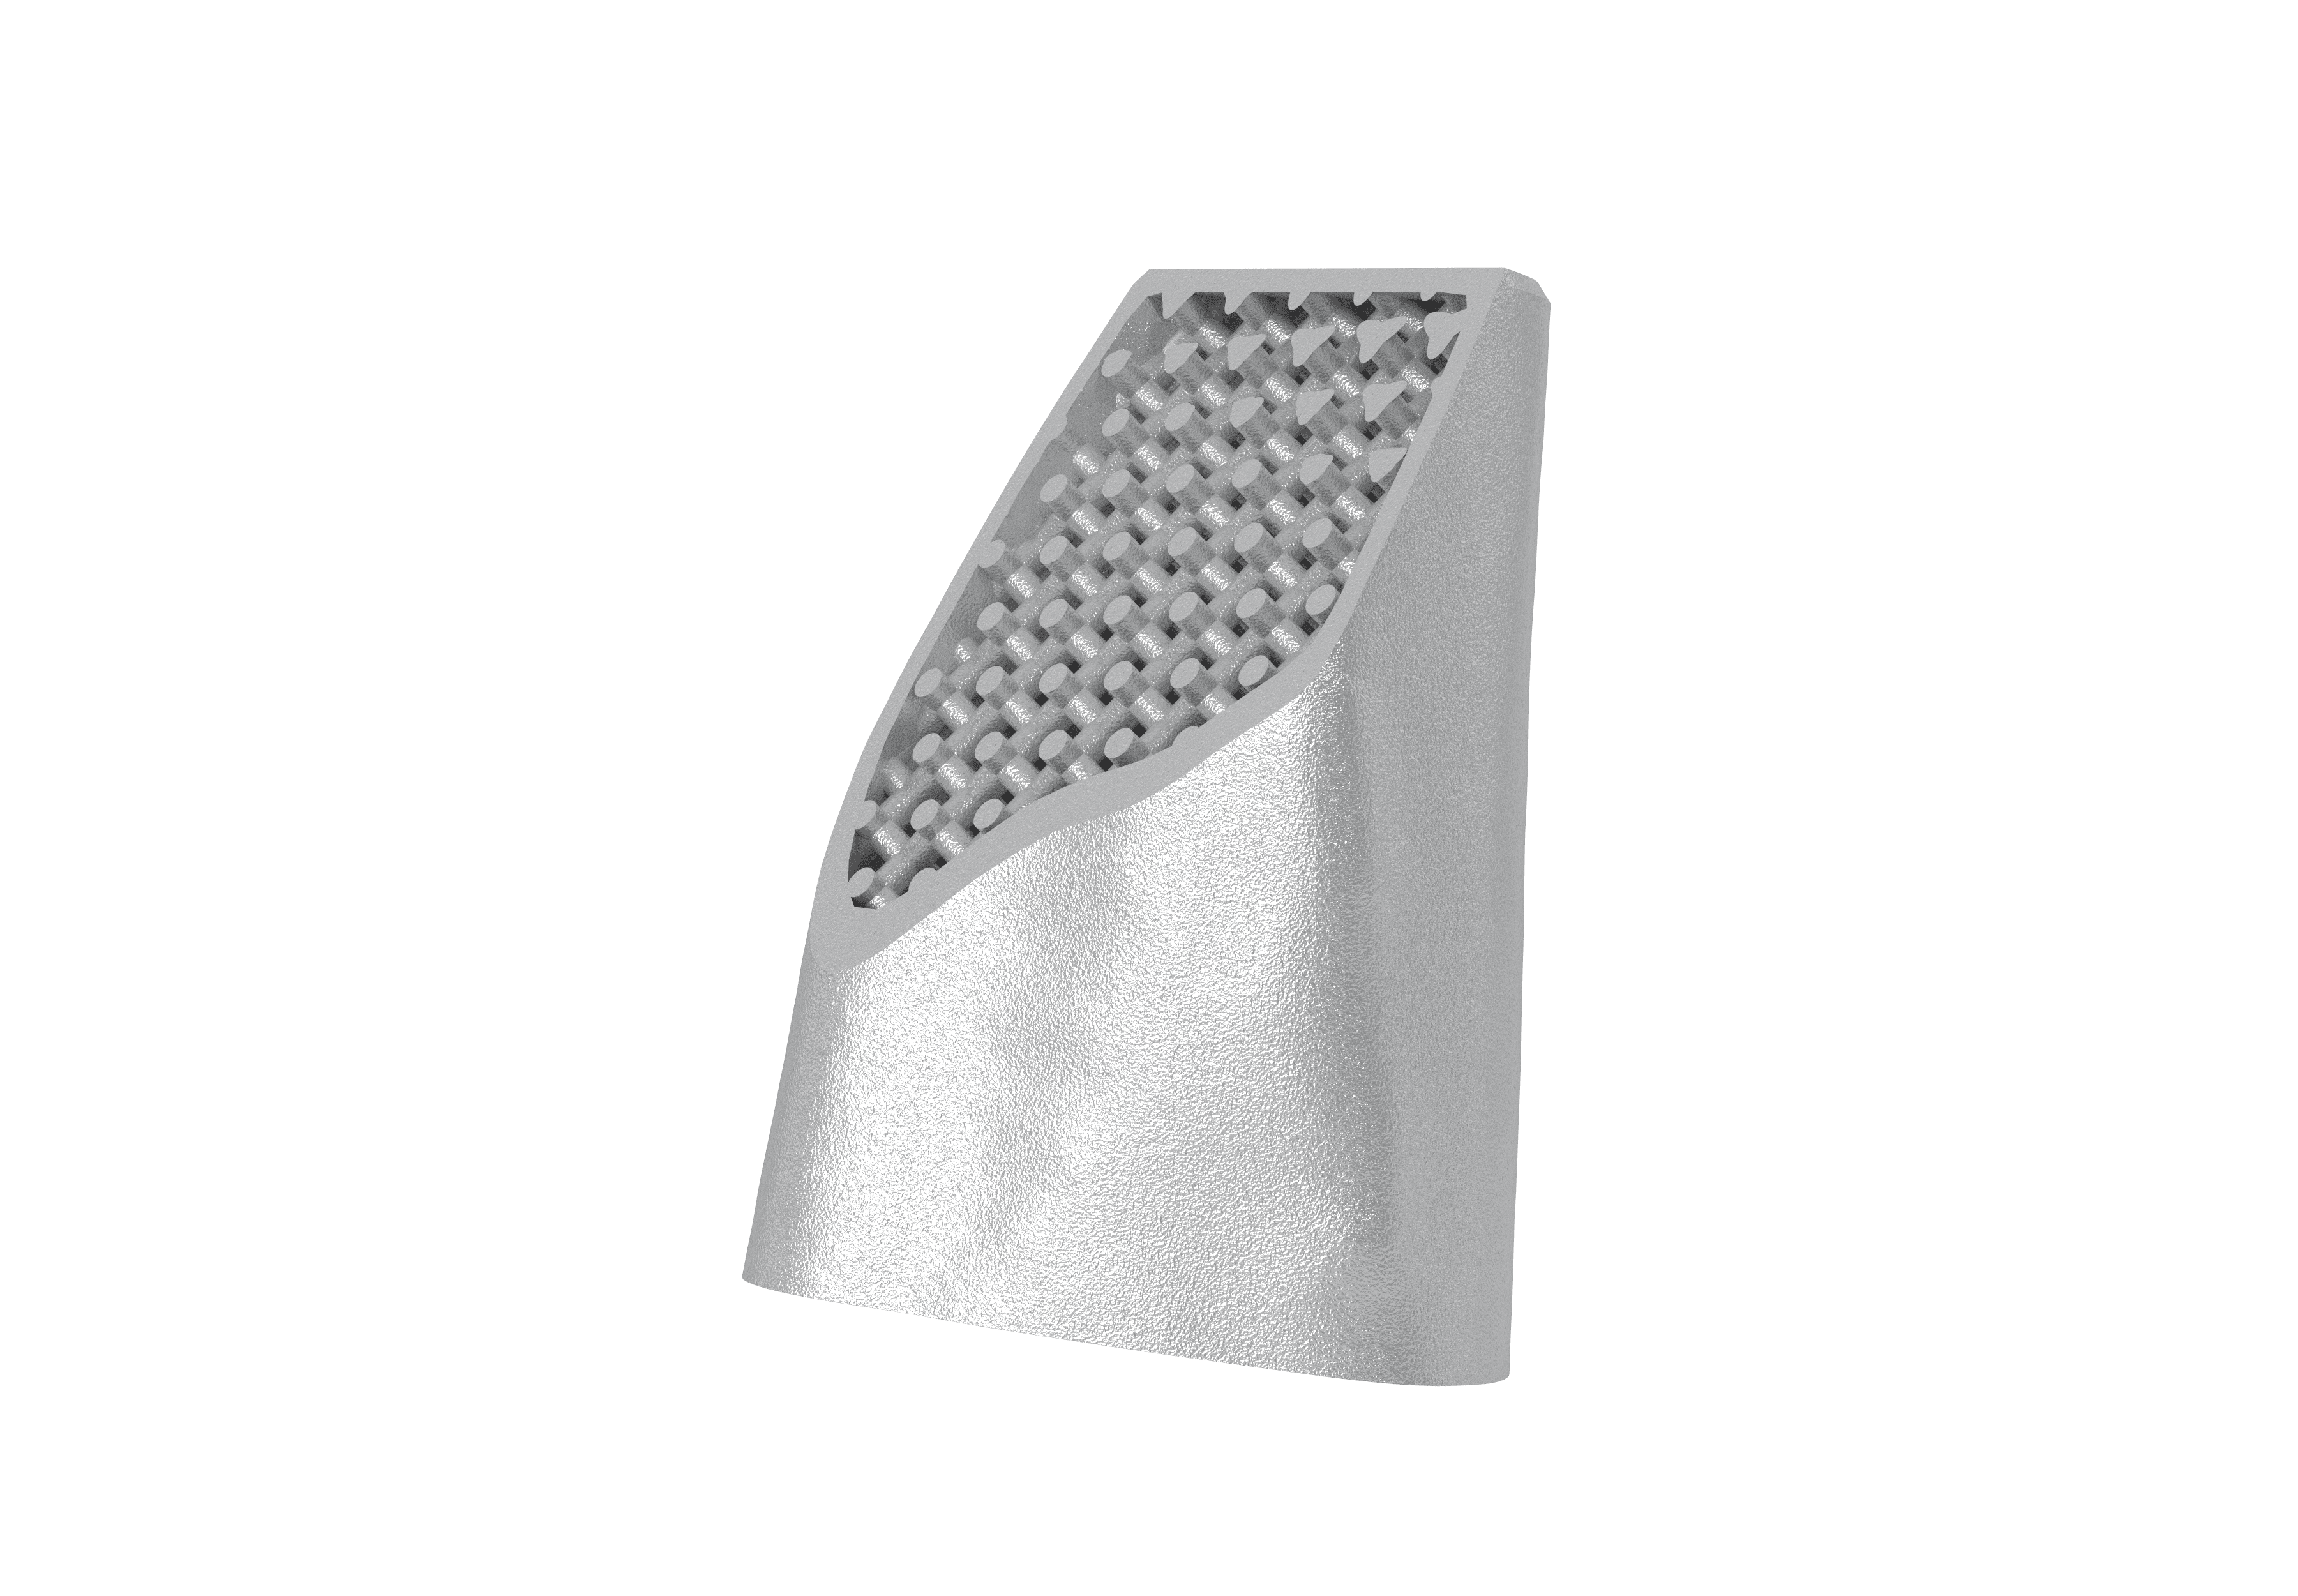
Textures, Patterns and Perforations
With the Texturing Module, you can directly apply textures, perforations and patterns to complex 3D shapes within an STL file. Textures provide extra value to your Additive Manufacturing projects by adding functionality or an aesthetic dimension.
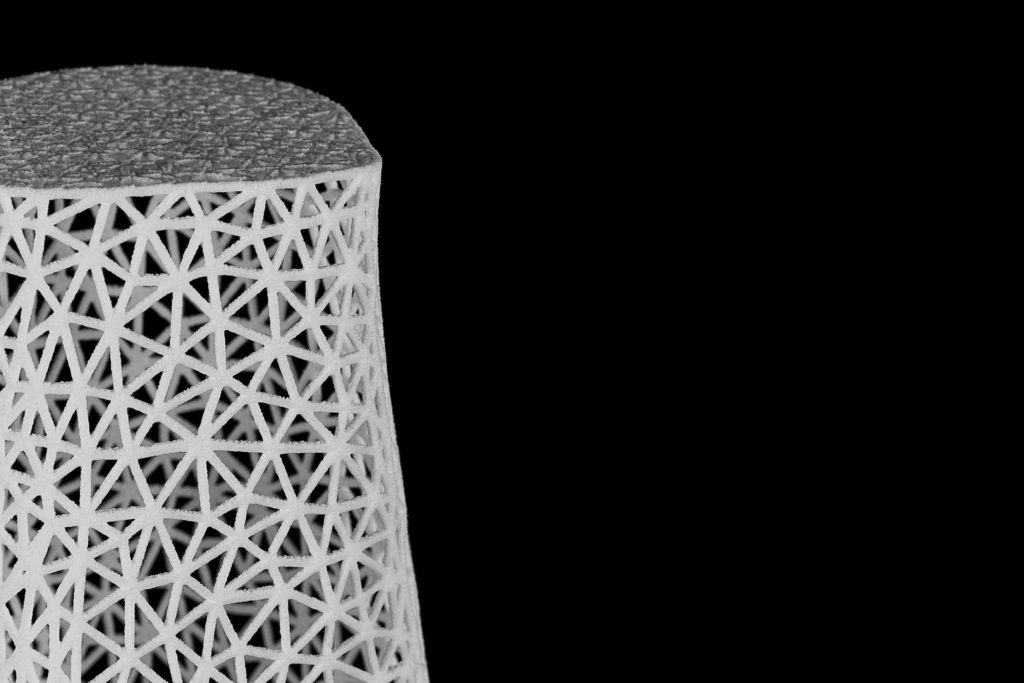
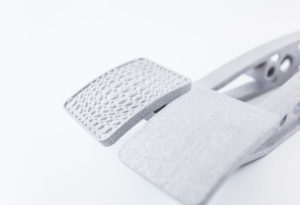
Lattice, Conformal and Porous Structures
The Lattice Module allows you to create directly printable internal and external structures that add extra strength, provide cushioning, increase porosity, or simply reduce the weight of the design.
Convert Mesh to CAD
Easily convert your mesh file to a CAD file format with Materialise 3-matic CAD Link Module. The conversion will recognize the analytical shapes in the part and will generate a fully parametric file without having to design from scratch.
Automate the Workflow
For an automated and faster process, the Scripting module lets you have more control. It comes with Phyton API and affords access to 3-matic objects and features. The module also features a comprehensive console including auto-complete and built-in, easy-to-use script editor.
5. Automate and Export
Finalize your workflow to maximize productivity and return your data to a CAD environment.
- Codify Repetitive Tasks: Use the Scripting Module and Python API to automate repetitive work, reducing human error and increasing consistency.
- Scale to Mass Customization: Use scripts to scale your work from a single custom design to hundreds of variations.
- Return to CAD/CAM: Use the CAD Link Module to convert STL files back to STEP or IGES formats, recognizing analytical shapes and converting organic regions to NURBS for a fully parametric design.
- Export for Simulation: Export surface and volume meshes to external CAE formats such as Ansys, Abaqus, or Nastran
System requirements
Minimum System Requirements |
Recommended System Requirements |
||
Hardware |
Software |
Hardware |
Software |
| Third-generation Intel®Core™ i3 or equivalent | Windows® 10 version -64bit | Third generation Intel® Core™ i5/i7 or equivalent | Windows® 10 version 1803 – 64bit |
| 8 GB RAM | Internet Explorer® 11 or equivalent | 16 GB RAM | Internet Explorer® 11 or equivalent |
| DirectX® 11.0 compliant graphics card with 1GB RAM | PDF viewer | DirectX® 11.0 compliant AMD Radeon/NVIDIA® GeForce® card with 2GB RAM | PDF viewer |
| 15 GB free hard disk space | .NET framework 4.6.1 (or higher) | 20 GB free hard disk space | .NET framework 4.6.1 (or higher) |
| Resolution of 1280×1024 | Resolution of 1920×1080 or higher | ||