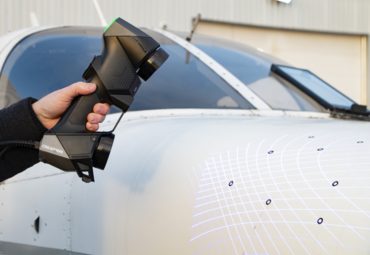
HandySCAN 3D | MAX Series
CREAFORM®
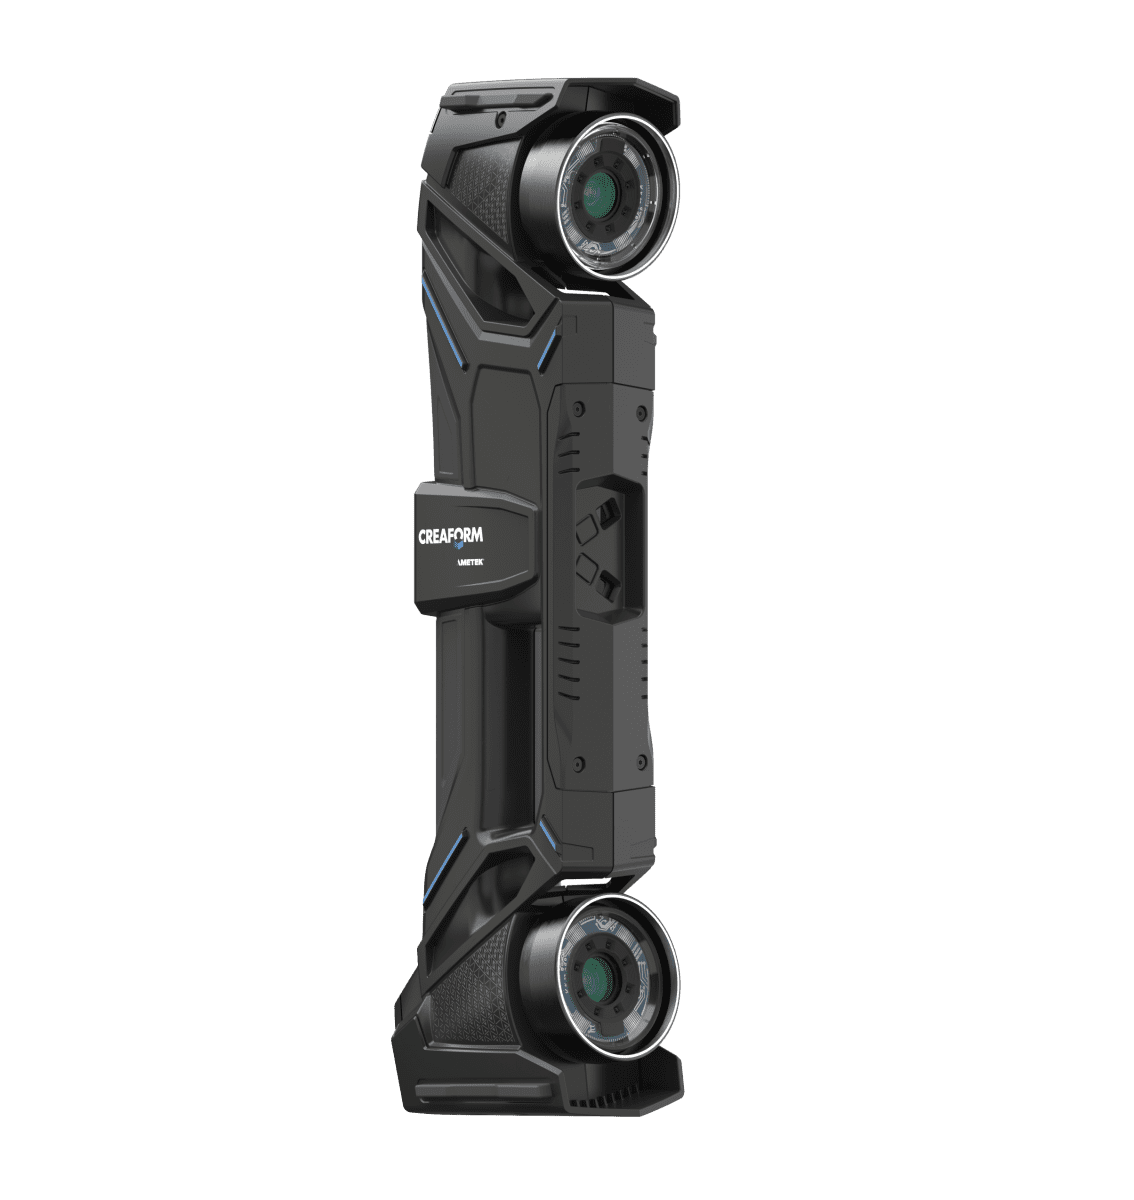
HandySCAN 3D | MAX Series
3D Scanning Small or Large Parts and Assemblies in a Matter of Minutes
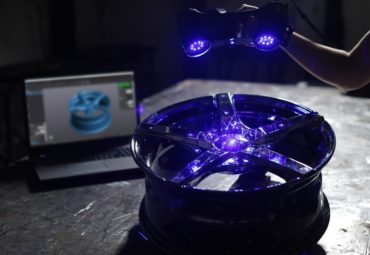
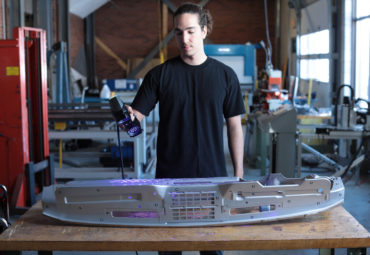
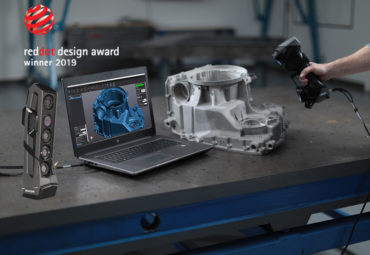
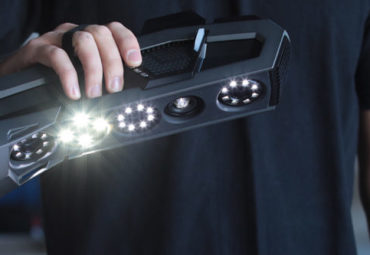
Combining the inherent benefits of the HandySCAN 3D, the MAX Series is optimized to acquire highly accurate 3D measurements on large and complex parts with no surface preparation required.
Engineered to capture fine details and scan large volumes equally well, the HandySCAN 3D|MAX Series enables professionals working in a wide variety of industries to measure large parts from all angles, resulting in high-quality 3D scans in just a matter of minutes.
HandySCAN 3D MAX.
All industries must have it.
HandySCAN is well known for its portability, accuracy, speed and simplicity. The new MAX Series from Creaform comes with improved capabilities and features. It is optimized to acquire highly accurate 3D measurements on large and complex parts typically present in the aerospace, transportation, energy, mining, and heavy industries.
Engineered for capturing intricate details and efficiently scanning large volumes, the HandySCAN 3D | MAX Series empowers professionals to measure large components and assemblies with ease, delivering top-notch 3D scans within minutes.

Features
Engineered for the BEST Outcomes
Industries & Applications
Software Suites

VXintegrity | NDT (Non-Destructive Testing) Software Platform
With four software modules designed specifically for the NDT industries, VXintegrity combines NDT knowledge and market intelligence to raise the quality of analysis and reporting to a higher level. It is highly beneficial for pipelines’ mechanical damage and corrosion analysis in the oil and gas industry and a vital tool for the aerospace industry, too, with fast and accurate inspection solutions for aircraft surface 3D assessment.
Technical Specifications
|
|
|
Accuracy |
0.150 mm (0.0059 in) |
0.075 mm (0.0030 in) |
Volumetric Accuracy |
0.200 mm + 0.030 mm/m (0.0079 in + 0.00032 in/ft) |
0.100 mm + 0.015 mm/m (0.0039 in + 0.00018 in/ft) |
Measurement Capabilities (at a working distance of 0.5 m (1.65 ft)) |
|
|
Measurement Resolution |
0.04 mm (0.0016 in) |
0.04 mm (0.0016 in) |
Mesh Resolution |
0.4 mm (0.0157 in) |
0.4 mm (0.0157 in) |
Measurement Rate |
2 250 000 measurements/s | 2 250 000 measurements/s |
Light Source & Class |
38 blue laser lines | 2M (eye-safe) | 38 blue laser lines | 2M (eye-safe) |
Scanning Area |
1 x 1 m (3.3 x 3.3 ft) |
1 x 1 m (3.3 x 3.3 ft) |
Stand-off distance |
0.45 to 1.60 m (1.5 to 5.2 ft) |
0.30 to 2.50 m (1.0 to 8.2 ft) |
Depth of Field |
1.15 m (3.8 ft) |
2.20 m (7.2 ft) |
Part Size Range (recommended) |
1–10 m (3.3–32.8 ft) |
1–15 m (3.3–49.2 ft) |
Software |
VXelements | VXelements |
Compatible Software |
3D Systems (Geomagic® Solutions), InnovMetric Software (PolyWorks), Metrologic Group (Metrolog X4), New River Kinematics (Spatial Analyzer), Verisurf, Dassault Systèmes (CATIA V5, SOLIDWORKS), PTC (Creo), Siemens (NX, Solid Edge), Autodesk (Inventor, PowerINSPECT) | 3D Systems (Geomagic® Solutions), InnovMetric Software (PolyWorks), Metrologic Group (Metrolog X4), New River Kinematics (Spatial Analyzer), Verisurf, Dassault Systèmes (CATIA V5, SOLIDWORKS), PTC (Creo), Siemens (NX, Solid Edge), Autodesk (Inventor, PowerINSPECT) |
Weight & Dimensions (LxWxH) |
1.22 kg | (2.7 lb) & 133 x 79 x 435 mm | (5.2 x 3.10 x 17.10 in) | 1.22 kg | (2.7 lb) & 133 x 79 x 435 mm | (5.2 x 3.10 x 17.10 in) |
Connection Standard |
1 X USB 3.0 | 1 X USB 3.0 |
Operating Temperature & Humidity Range (non-condensing) |
5-40 °C | (41-104 °F) 10-90% |
5-40 °C | (41-104 °F) 10-90% |
Certifications |
EC Compliance (Electromagnetic Compatibility Directive, Low Voltage Directive), compatible with rechargeable batteries (when applicable), IP50, WEEE | EC Compliance (Electromagnetic Compatibility Directive, Low Voltage Directive), compatible with rechargeable batteries (when applicable), IP50, WEEE |
Related Blog Posts




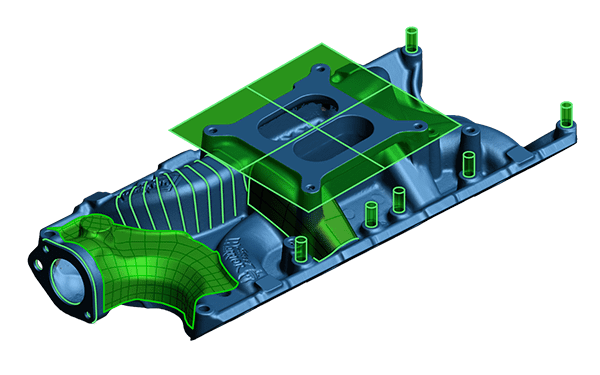
 VXinspect | Dimensional Inspection Software