MetraSCAN Optical CMM 3D Scanner
CREAFORM
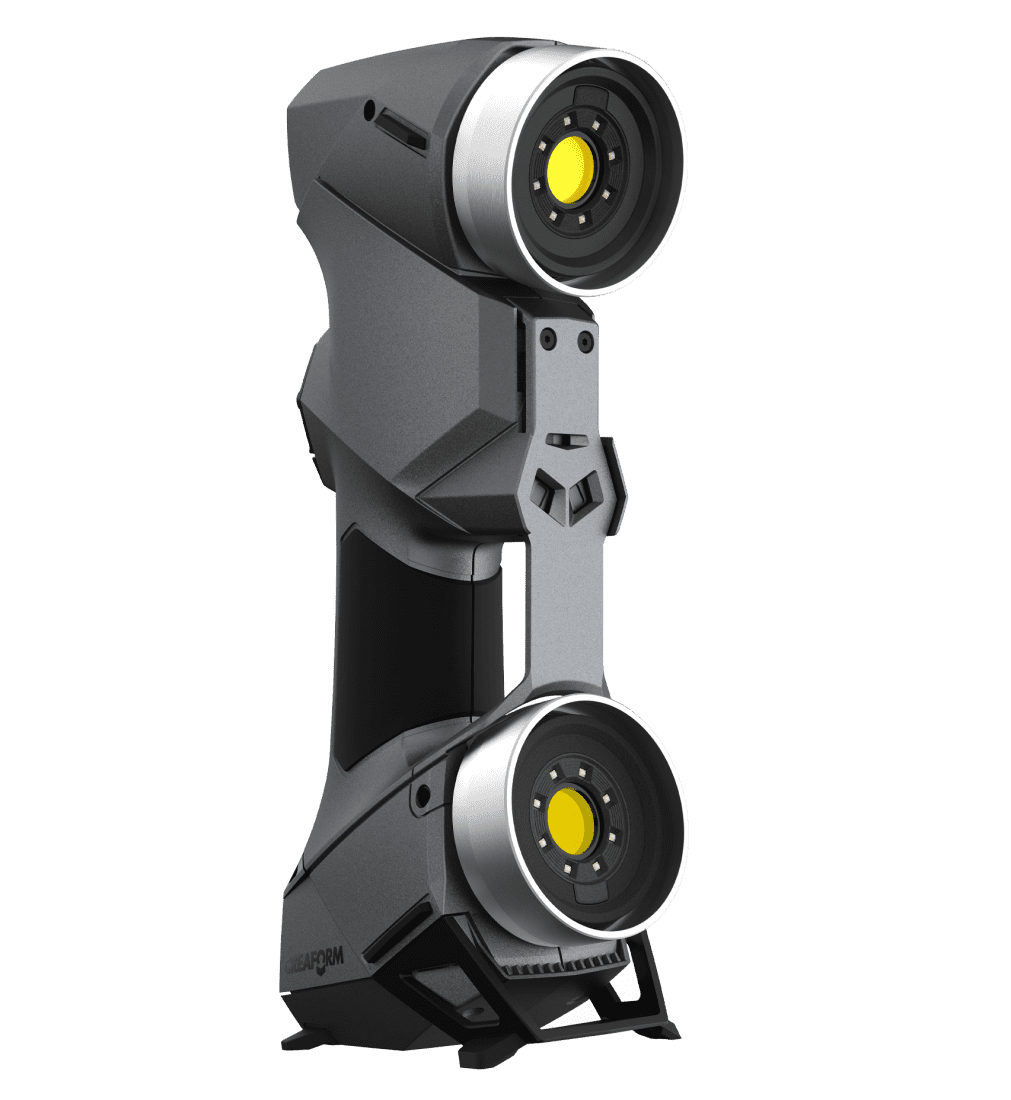
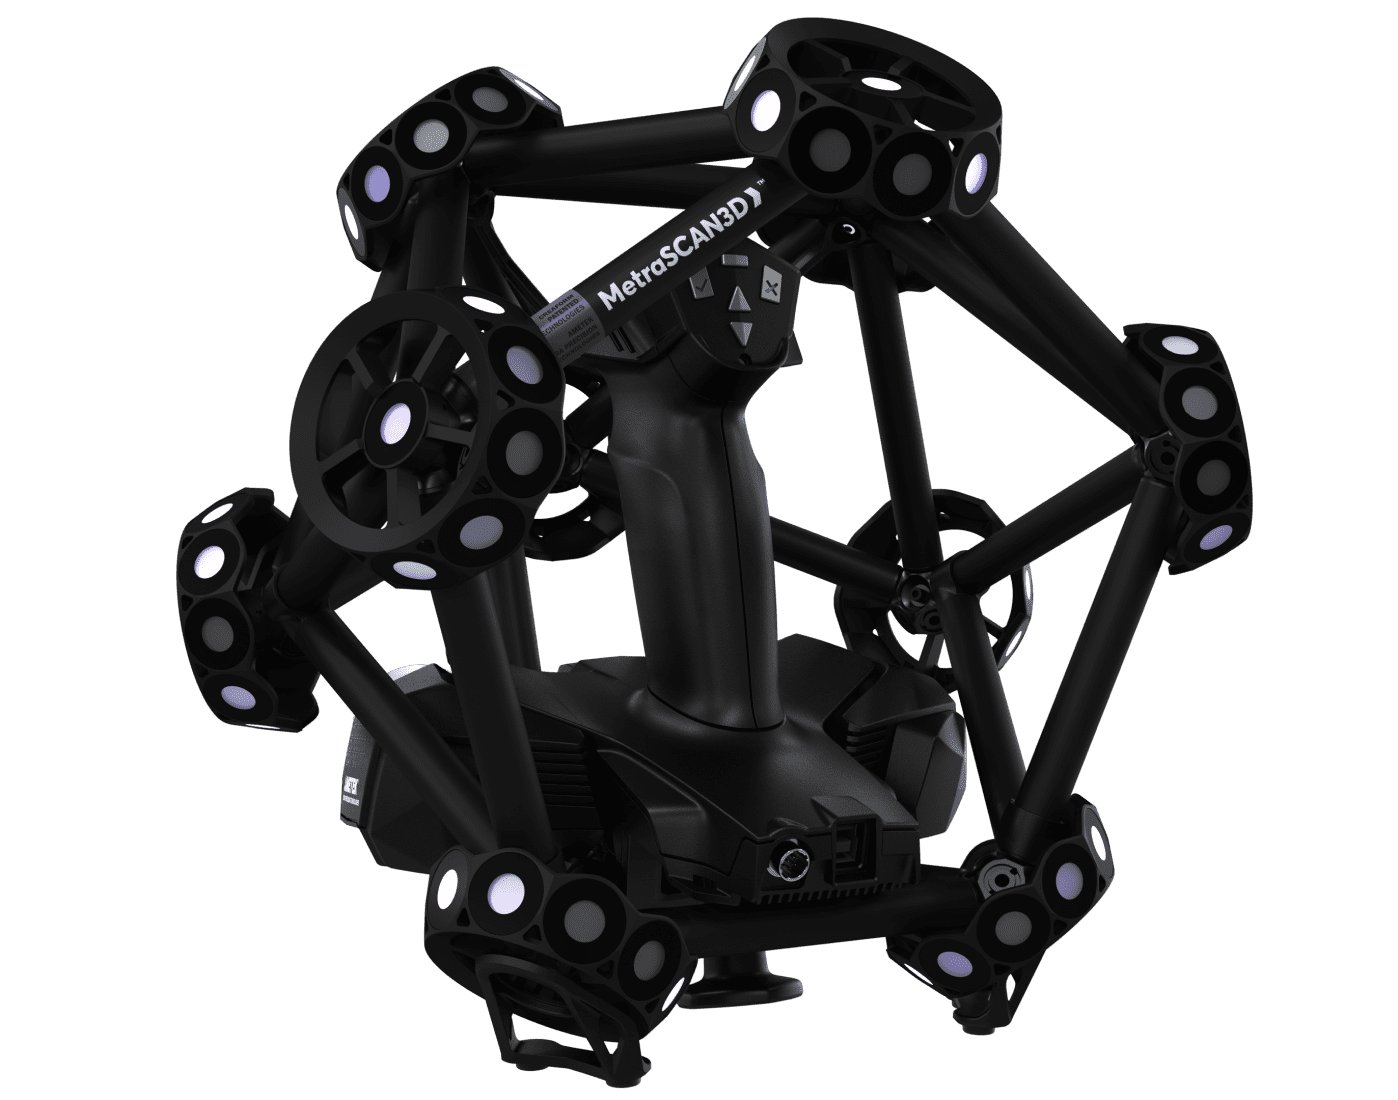
MetraSCAN 3D Optical CMM 3D Scanner
The most flexible portable 3D measurement solution engineered for shop floor conditions
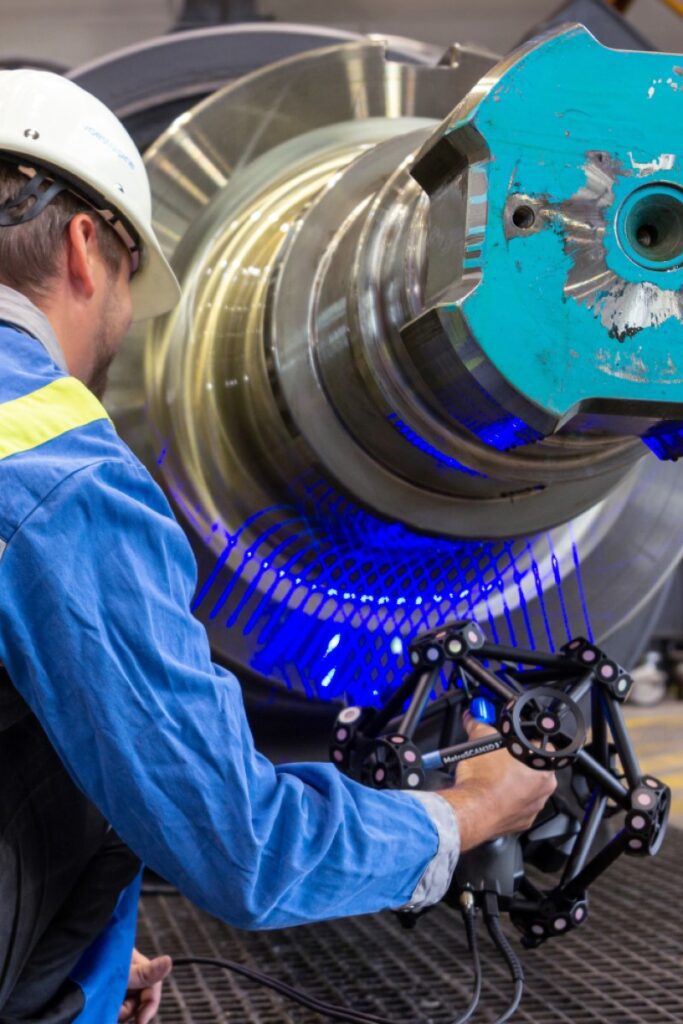
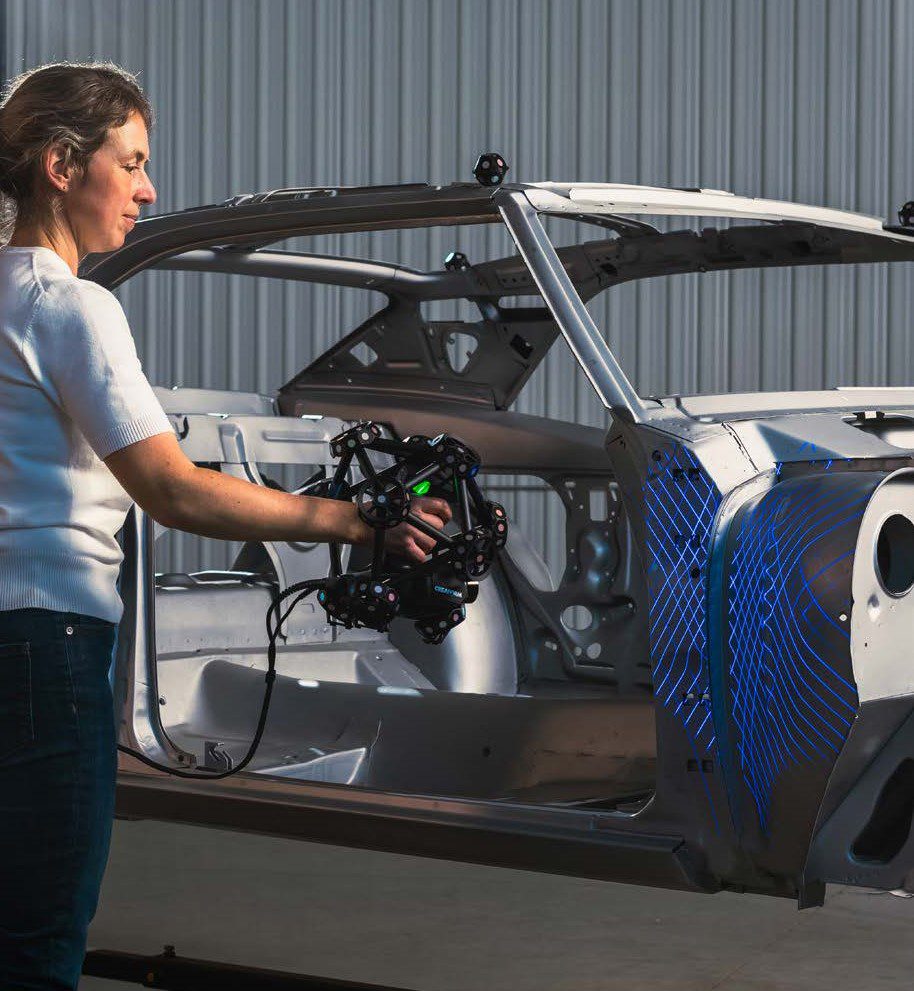
With its extendable measuring volume, high speed, shop-floor accuracy and impressive capabilities on challenging materials, the MetraSCAN optical CMM 3D scanner represents the most complete and dynamic metrology-grade 3D scanner on the market.
MetraSCAN 3D. Designed for Manufacturing & Metrology
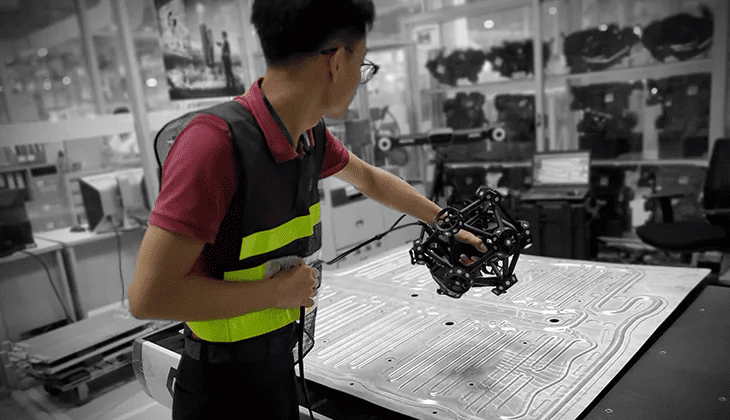
The MetraSCAN 3D optical CMM scanner is designed for manufacturing and metrology experts who prioritize both quality and efficiency. It’s built to endure the rigours of any production setting, including vibrations on the shop floor, part movements, and environmental fluctuations. It delivers precise and consistent metrology-grade measurements and 3D geometrical surface inspections.
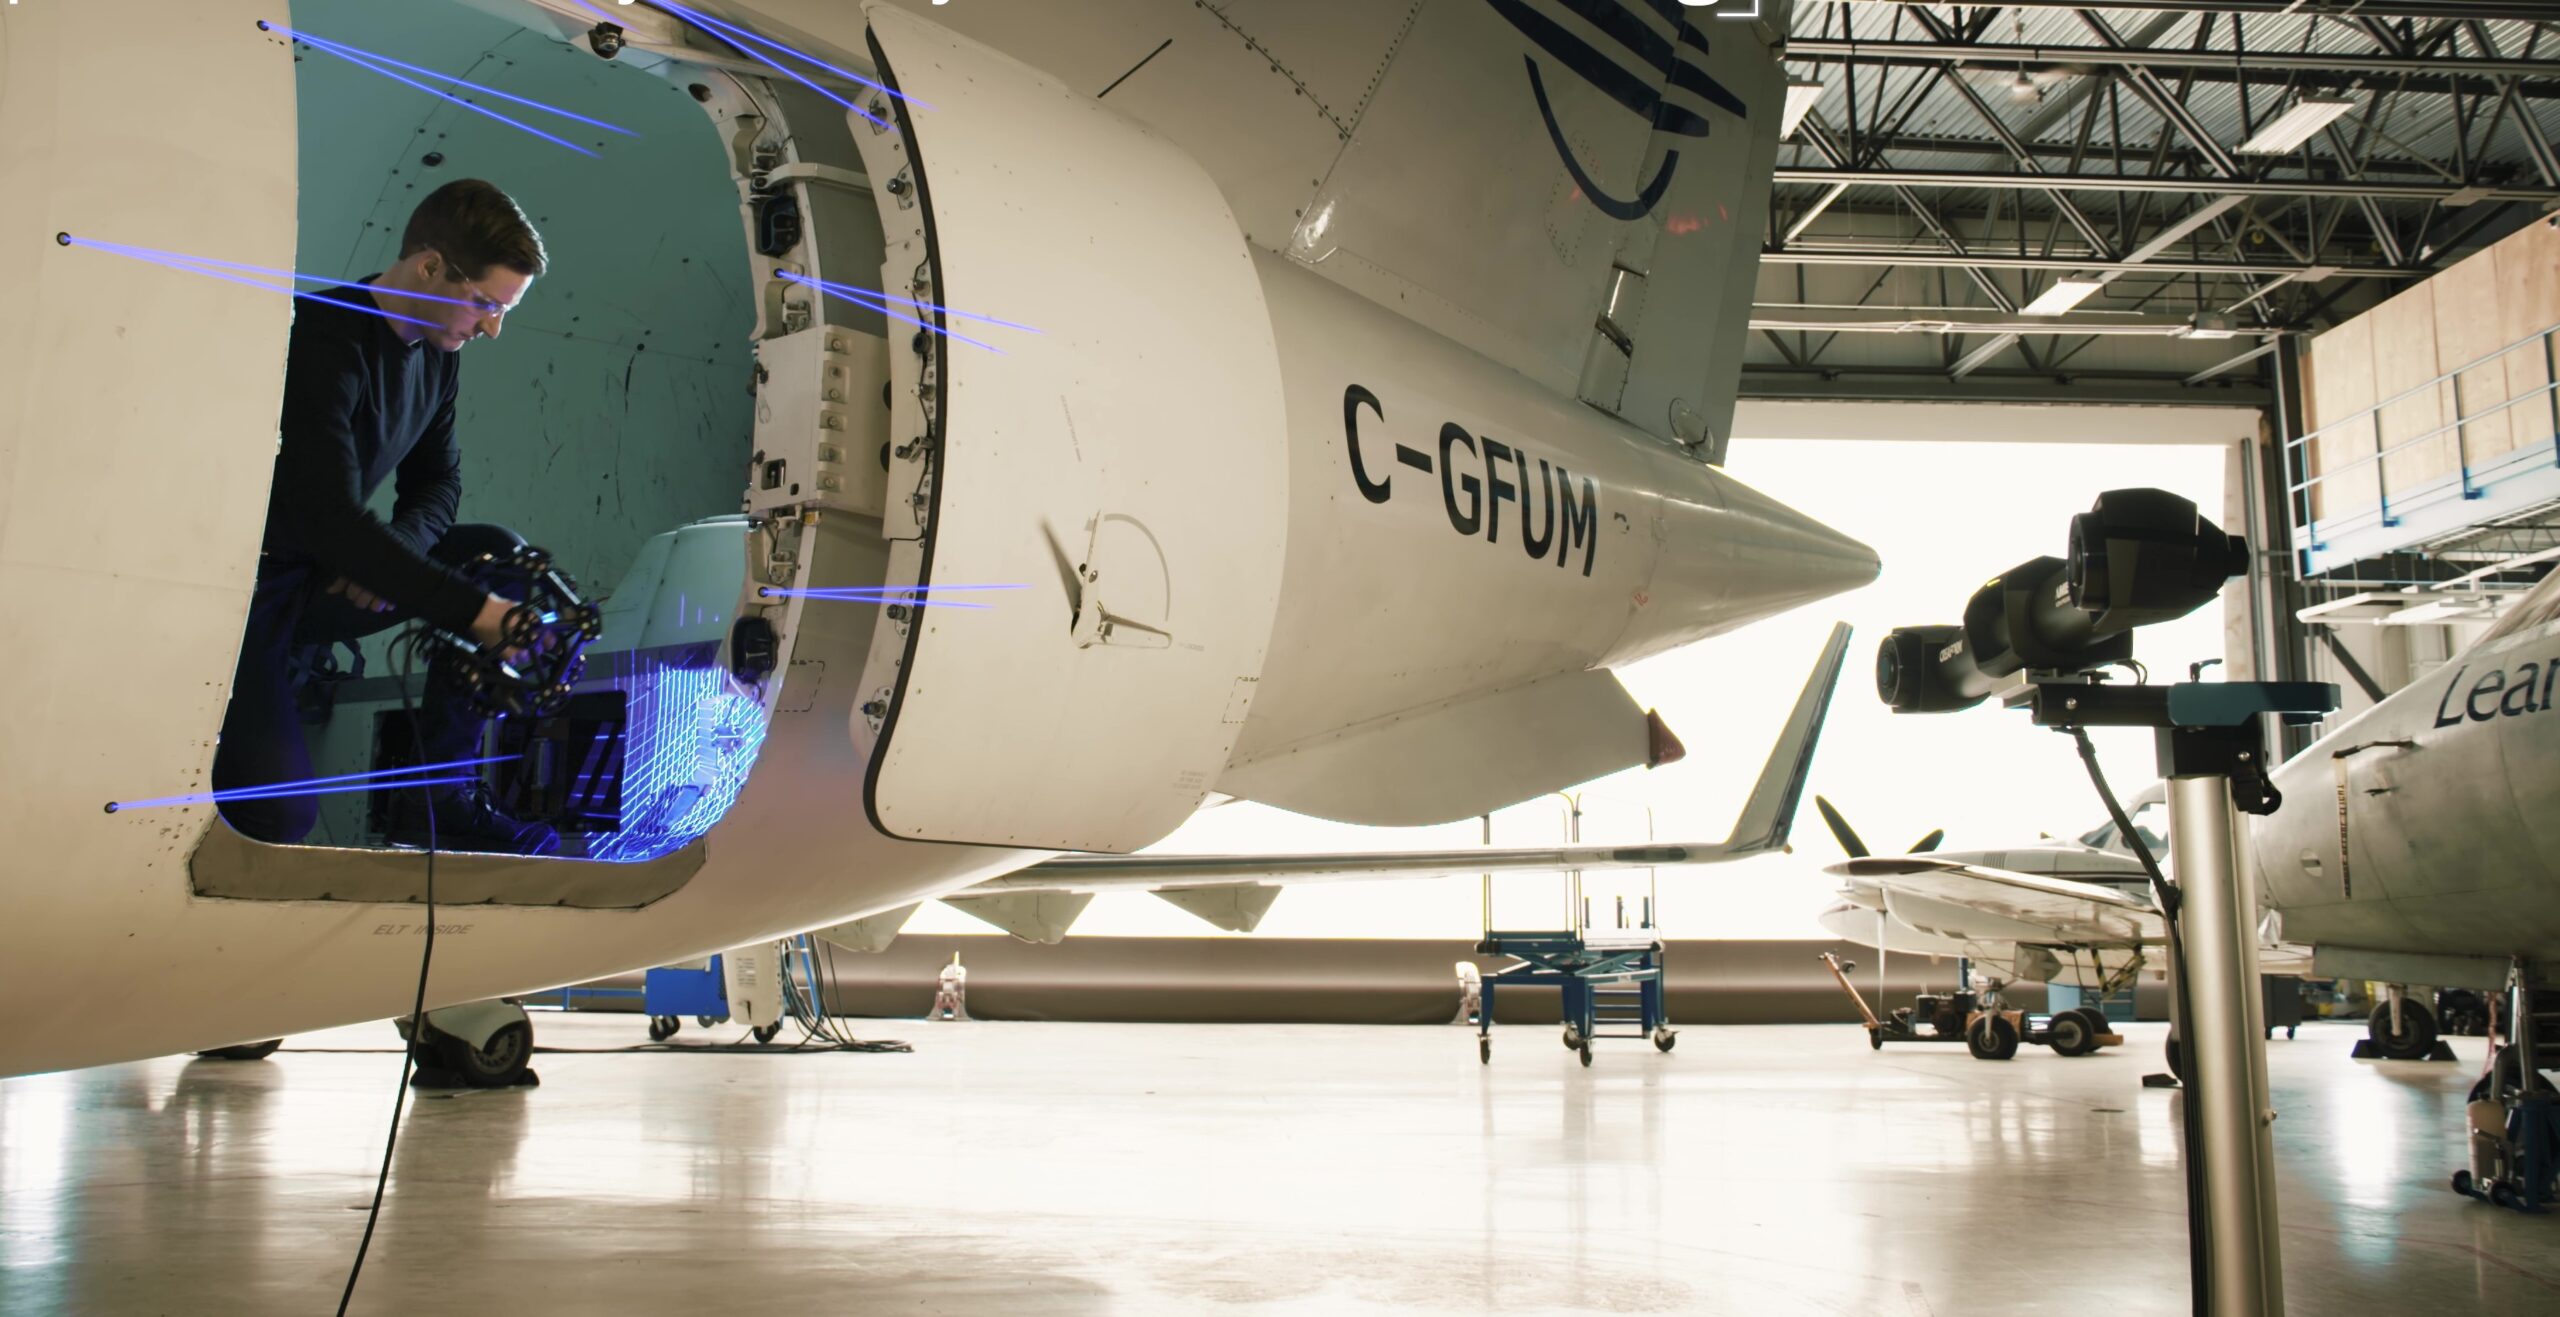
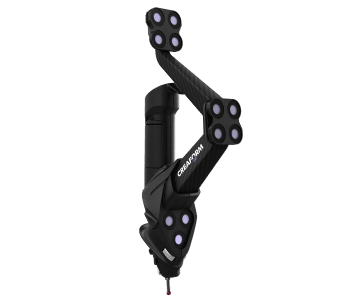
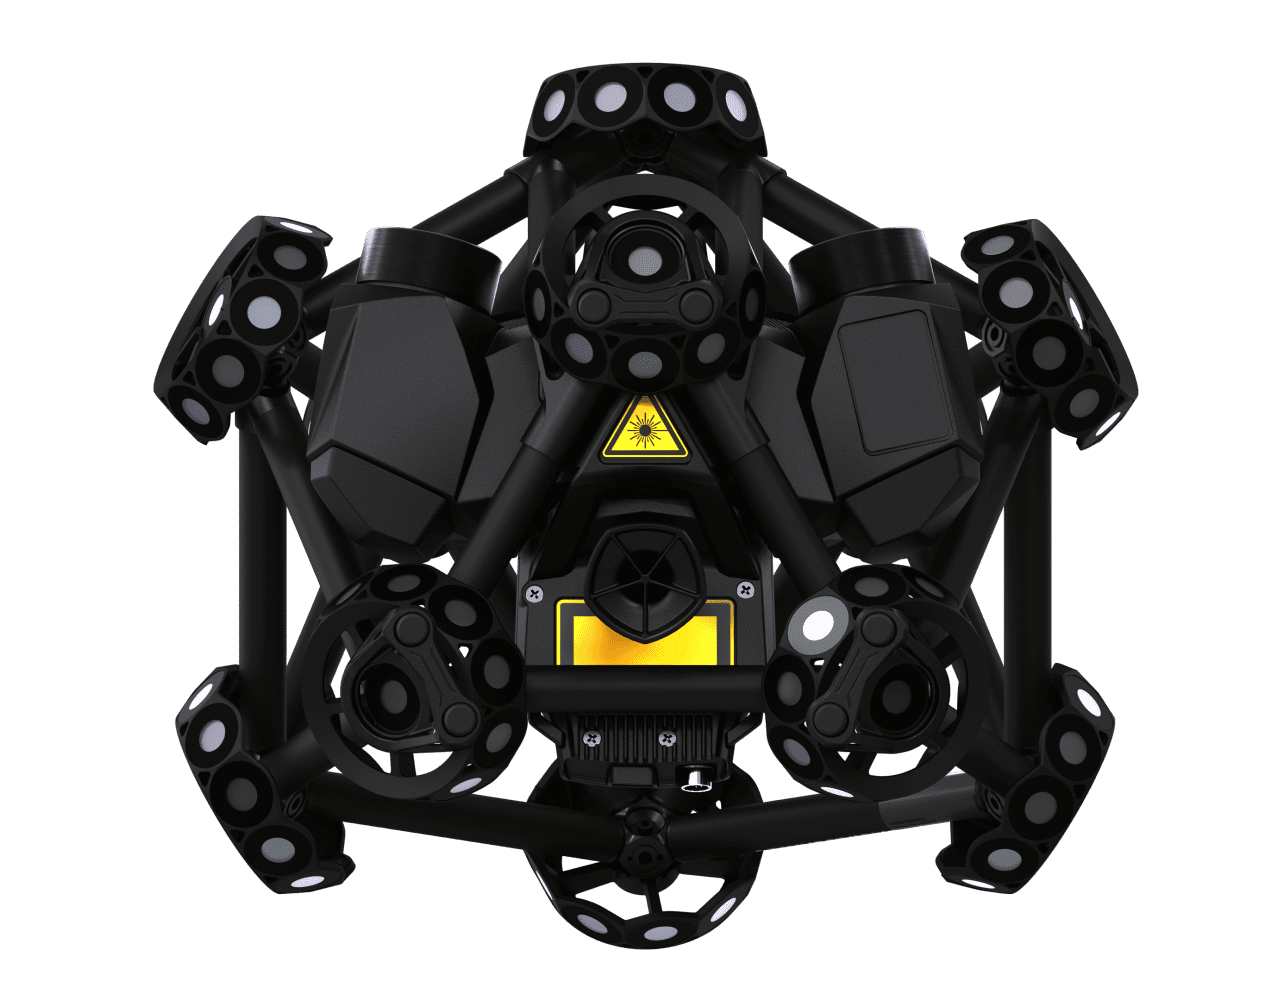
MetraSCAN 3D can be paired with HandyPROBE, Creaform’s handheld optical coordinate measuring machine (PCMM) with probing capabilities for complete, end-to-end inspection processes.
Key Features
MetroSCAN 3D | High-Accuracy Portable Metrology-Grade
3D Scanning
Applications

3D Scanning | Inspection
Part-to-CAD analysis
First article inspection
Supplier product quality inspection
Conformity assessment of
-
- 3D models against original parts or production tooling
- manufactured parts against originals
Alignment
Tooling certification
3D Scanning | Reverse Engineering
3D Scan-to-CAD
3D Modeling
Tooling and Jig Development
Maintenance, Repair, and Overhaul (MRO)
Finite Element Analysis
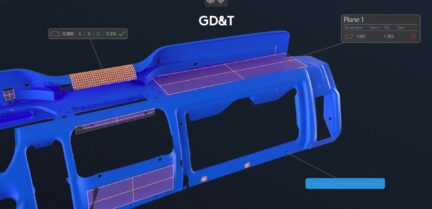
GD&T
3D Scanning | Quality Assurance & Control
Prevent mistakes and defects in the different steps of the manufacturing process
Minimize the risk of delivering defective and non-compliant products to customers
Software

VXelements™ | Creaform’s 3D Software Platform & Application Suite
The MetraSCAN 3D comes with VXelements which powers our entire fleet of 3D scanning and measurement technologies. It combines all the essential tools for your data acquisition process into a user-friendly, simplified and sleek working environment. Its real-time visualization capabilities provide a simple yet efficient 3D scanning experience for enhanced on-site productivity.
Industries
MODELS | Technical Specifications
MetraSCAN 357™ |
MetraSCAN BLACK+™ |
MetraSCAN BLACK+™|Elite |
|||
Accuracy |
Up to 0.040 mm (0.0016 in) |
0.035 mm (0.0014 in) |
0.025 mm (0.0009 in) |
||
Volumetric Accuracy 9.1 m3 (320 ft3) |
0.086 mm (0.0034 in) |
0.086 mm (0.0034 in) |
0.064 mm (0.0025 in) |
||
Volumetric Accuracy 16.6 m3 (586 ft3) |
0.122 mm (0.0048 in) |
0.122 mm (0.0048 in) |
0.078 mm (0.0031 in) |
||
Automatic Volume Extension Accuracy1 |
N/A |
0.035 mm + 0.020 mm/m (0.0014 in + 0.00024 in/ft) |
0.025 mm + 0.015 mm/m (0.0009 in + 0.00018 in/ft) |
||
Form Error (Sphere) |
N/A |
0.035 mm (0.0014 in) |
0.025 mm (0.0009 in) |
||
Form Error (Flat) |
N/A |
0.060 mm (0.0024 in) |
0.045 mm (0.0018 in) |
||
Probing Accuracy with HandyPROBE Next+ |
0.030 mm (0.0012 in) |
0.030 mm (0.0012 in) |
0.025 mm (0.0009 in) |
||
Acceptance Test2 |
N/A |
Based on VDI/VDE 2634 part 3 and ISO 10360 |
Based on VDI/VDE 2634 part 3 and ISO 10360 |
||
Measurement Capabilities
|
Pin: 1.750 mm (0.0689 in) Hole: 1.750 mm (0.0689 in) Step: 0.035 mm (0.0014 in) Wall: 1.000 mm (0.0394 in) |
Pin: 0.750 mm (0.0295 in) Hole: 1.250 mm (0.0394 in) Step: 0.025 mm (0.0009 in) Wall: 0.500 mm (0.0197 in) |
Pin: 0.750 mm (0.0295 in) Hole: 1.250 mm (0.0394 in) Step: 0.025 mm (0.0009 in) Wall: 0.500 mm (0.0197 in) |
||
Measurement Resolution |
0.100 mm (0.0039 in) |
0.025 mm (0.0009 in) |
0.025 mm (0.0009 in) |
||
Mesh Resolution |
0.200 mm (0.0078 in) |
0.100 mm (0.0039 in) |
0.100 mm (0.0039 in) |
||
Measureent Rate |
480,000 measurements/s | 1,800,000 measurements/s | 1,800,000 measurements/s | ||
Light Source3 |
14 red laser lines |
30 blue laser lines (+ 1 extra line) |
30 blue laser lines (+ 1 extra line) |
||
Scanning Area |
275 x 250 mm (10.8 x 9.8 in) |
310 x 350 mm (12.2 x 13.8 in) |
310 x 350 mm (12.2 x 13.8 in) |
||
Stand-off Distance |
300 mm (11.8 in) |
300 mm (11.8 in) |
300 mm (11.8 in) |
||
Depth of Field |
200 mm (7.9 in) |
250 mm (9.8 in) |
250 mm (9.8 in) |
||
Part Size Range (Recommended) |
0.2–6 m (0.7–20 ft) | 0.2–6 m (0.7–20 ft) | 0.2–6 m (0.7–20 ft) | ||
Setup Assistance Tools4 |
N/A | Included | Included | ||
Software |
VXelements | VXelements | VXelements | ||
Compatible Software5 |
3D Systems (Geomagic® Solutions), InnovMetric Software (PolyWorks), Metrologic Group (Metrolog X4), New River Kinematics (Spatial Analyzer), Verisurf, Dassault Systèmes (CATIA V5, SOLIDWORKS), PTC (Creo), Siemens (NX, Solid Edge), Autodesk (Inventor, PowerINSPECT) | 3D Systems (Geomagic® Solutions), InnovMetric Software (PolyWorks), Metrologic Group (Metrolog X4), New River Kinematics (Spatial Analyzer), Verisurf, Dassault Systèmes (CATIA V5, SOLIDWORKS), PTC (Creo), Siemens (NX, Solid Edge), Autodesk (Inventor, PowerINSPECT) | 3D Systems (Geomagic® Solutions), InnovMetric Software (PolyWorks), Metrologic Group (Metrolog X4), New River Kinematics (Spatial Analyzer), Verisurf, Dassault Systèmes (CATIA V5, SOLIDWORKS), PTC (Creo), Siemens (NX, Solid Edge), Autodesk (Inventor, PowerINSPECT) | ||
Output Formats |
.dae, .fbx, .ma, .obj, .ply, .stl, .txt, .wrl, .x3d, .x3dz, .zpr, .3mf | .dae, .fbx, .ma, .obj, .ply, .stl, .txt, .wrl, .x3d, .x3dz, .zpr, .3mf | .dae, .fbx, .ma, .obj, .ply, .stl, .txt, .wrl, .x3d, .x3dz, .zpr, .3mf | ||
Weight |
Scanner: 1.38 kg (3.0 lb) Probe: 0.5 kg (1.1 lb) C-Track: 5.7 kg (12.5 lb) |
Scanner: 1.49 kg (3.28 lb) Probe: 0.5 kg (1.1 lb) C-Track: 5.7 kg (12.5 lb) |
Scanner: 1.49 kg (3.28 lb) Probe: 0.5 kg (1.1 lb) C-Track: 5.7 kg (12.5 lb) |
||
Dimensions |
Scanner: 289 x 235 x 296 mm | 11.4 x 9.3 x 11.7 in Probe: 68 x 157 x 340 mm | 2.7 x 6.2 x 13.4 in C-Track: 1031 x 181 x 148 mm | 40.6 x 7.1 x 5.8 in) |
Scanner: 289 x 235 x 296 mm | 11.4 x 9.3 x 11.7 in Probe: 68 x 157 x 340 mm | 2.7 x 6.2 x 13.4 in C-Track: 1031 x 181 x 148 mm | 40.6 x 7.1 x 5.8 in |
Scanner: 289 x 235 x 296 mm | 11.4 x 9.3 x 11.7 in) Probe: 68 x 157 x 340 mm | 2.7 x 6.2 x 13.4 in) C-Track: 1031 x 181 x 148 mm | 40.6 x 7.1 x 5.8 in) |
||
Operating Temperature Range |
5-40 °C (41-104 °F) |
5-40 °C (41-104 °F) |
5-40 °C (41-104 °F) |
||
Operating Humidity Range (non-condensing) |
10 - 90% | 10 - 90% | 10 - 90% | ||
Certifications |
EC Compliance (Electromagnetic Compatibility Directive, Low Voltage Directive), compatible with rechargeable batteries (when applicable), IP50, WEEE | EC Compliance (Electromagnetic Compatibility Directive, Low Voltage Directive), compatible with rechargeable batteries (when applicable), IP50, WEEE | EC Compliance (Electromagnetic Compatibility Directive, Low Voltage Directive), compatible with rechargeable batteries (when applicable), IP50, WEEE |
1 The system’s volumetric accuracy performance when using the Automatic Volumetric Extension cannot be superior to the default volumetric accuracy performance for a given model.
2 Performance tests done in Creaform’s ISO/IEC 17025 accredited calibration laboratories.
3 Laser class: 2M (eye safe).
4 The Setup Assistance tools enable visual guidances and advanced diagnostics for part and jigs setups.
5 Also compatible with all major metrology, CAD, and computer graphic software through mesh and point cloud import.
