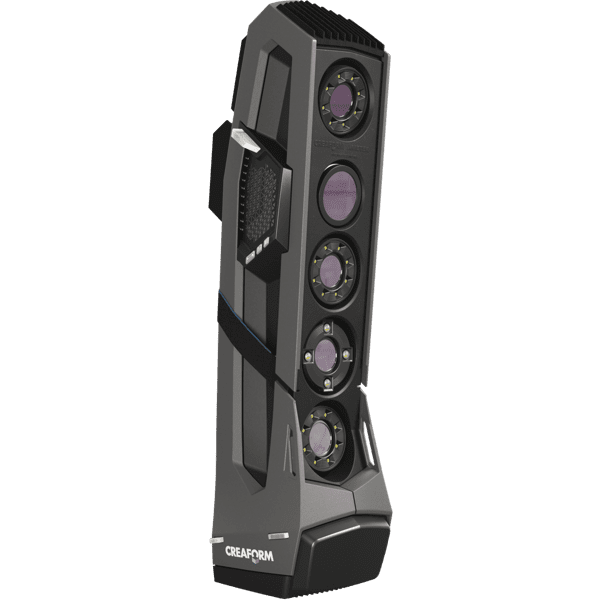
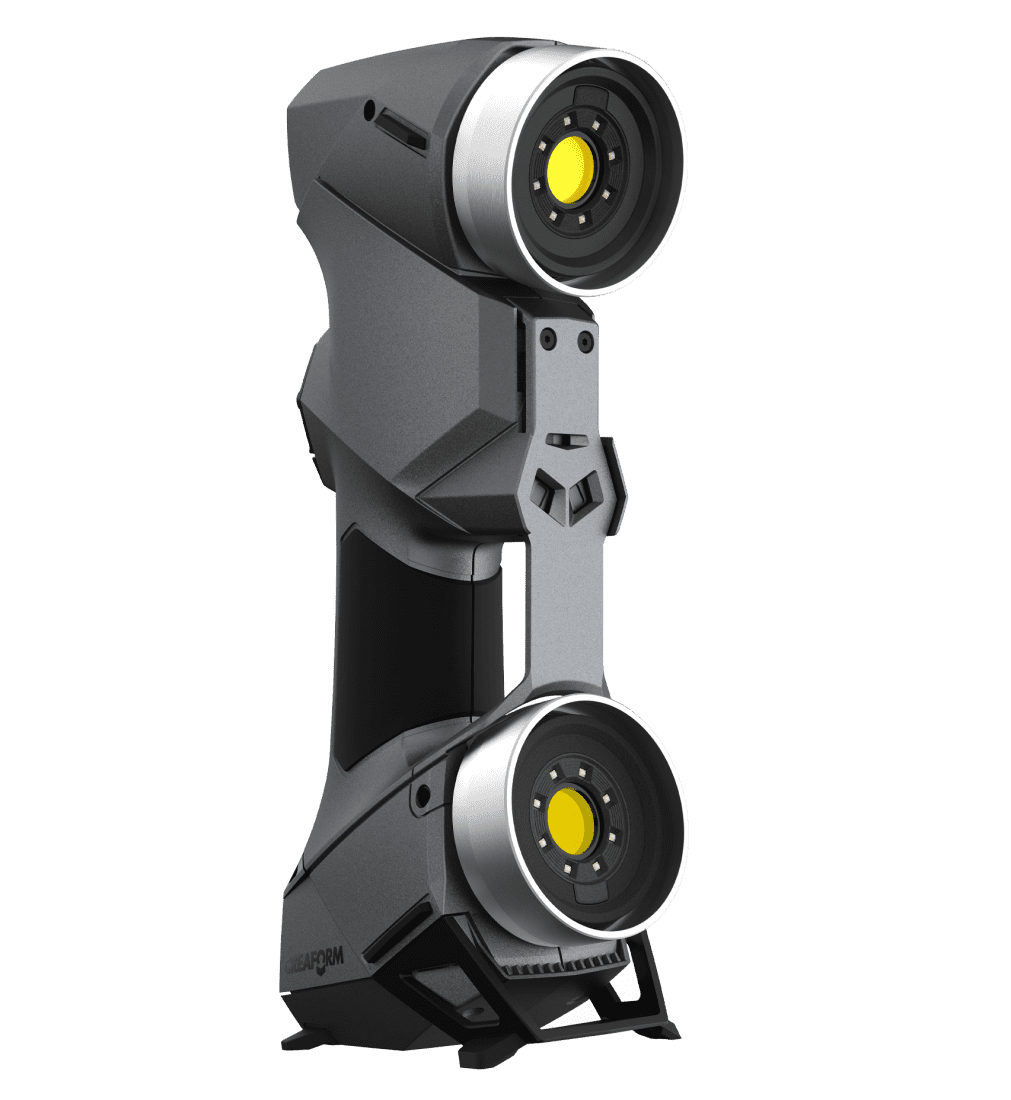
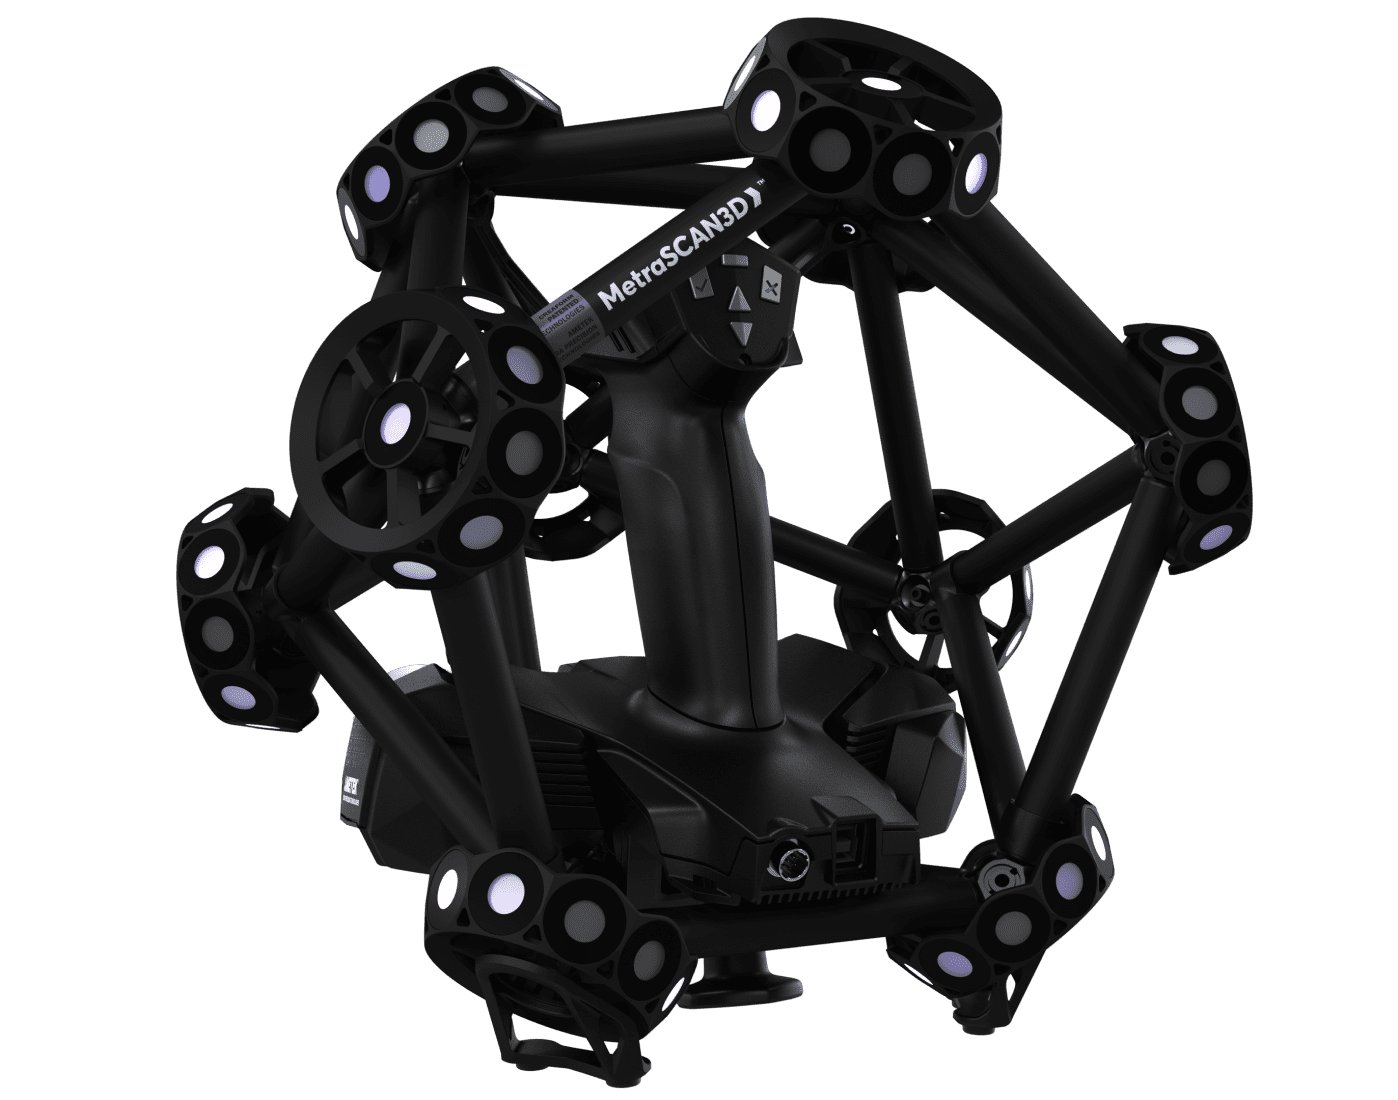
HandySCAN 3D BLACK
CREAFORM
HandySCAN 3D™| BLACK Series
Accurate, Portable, Simple and Fast
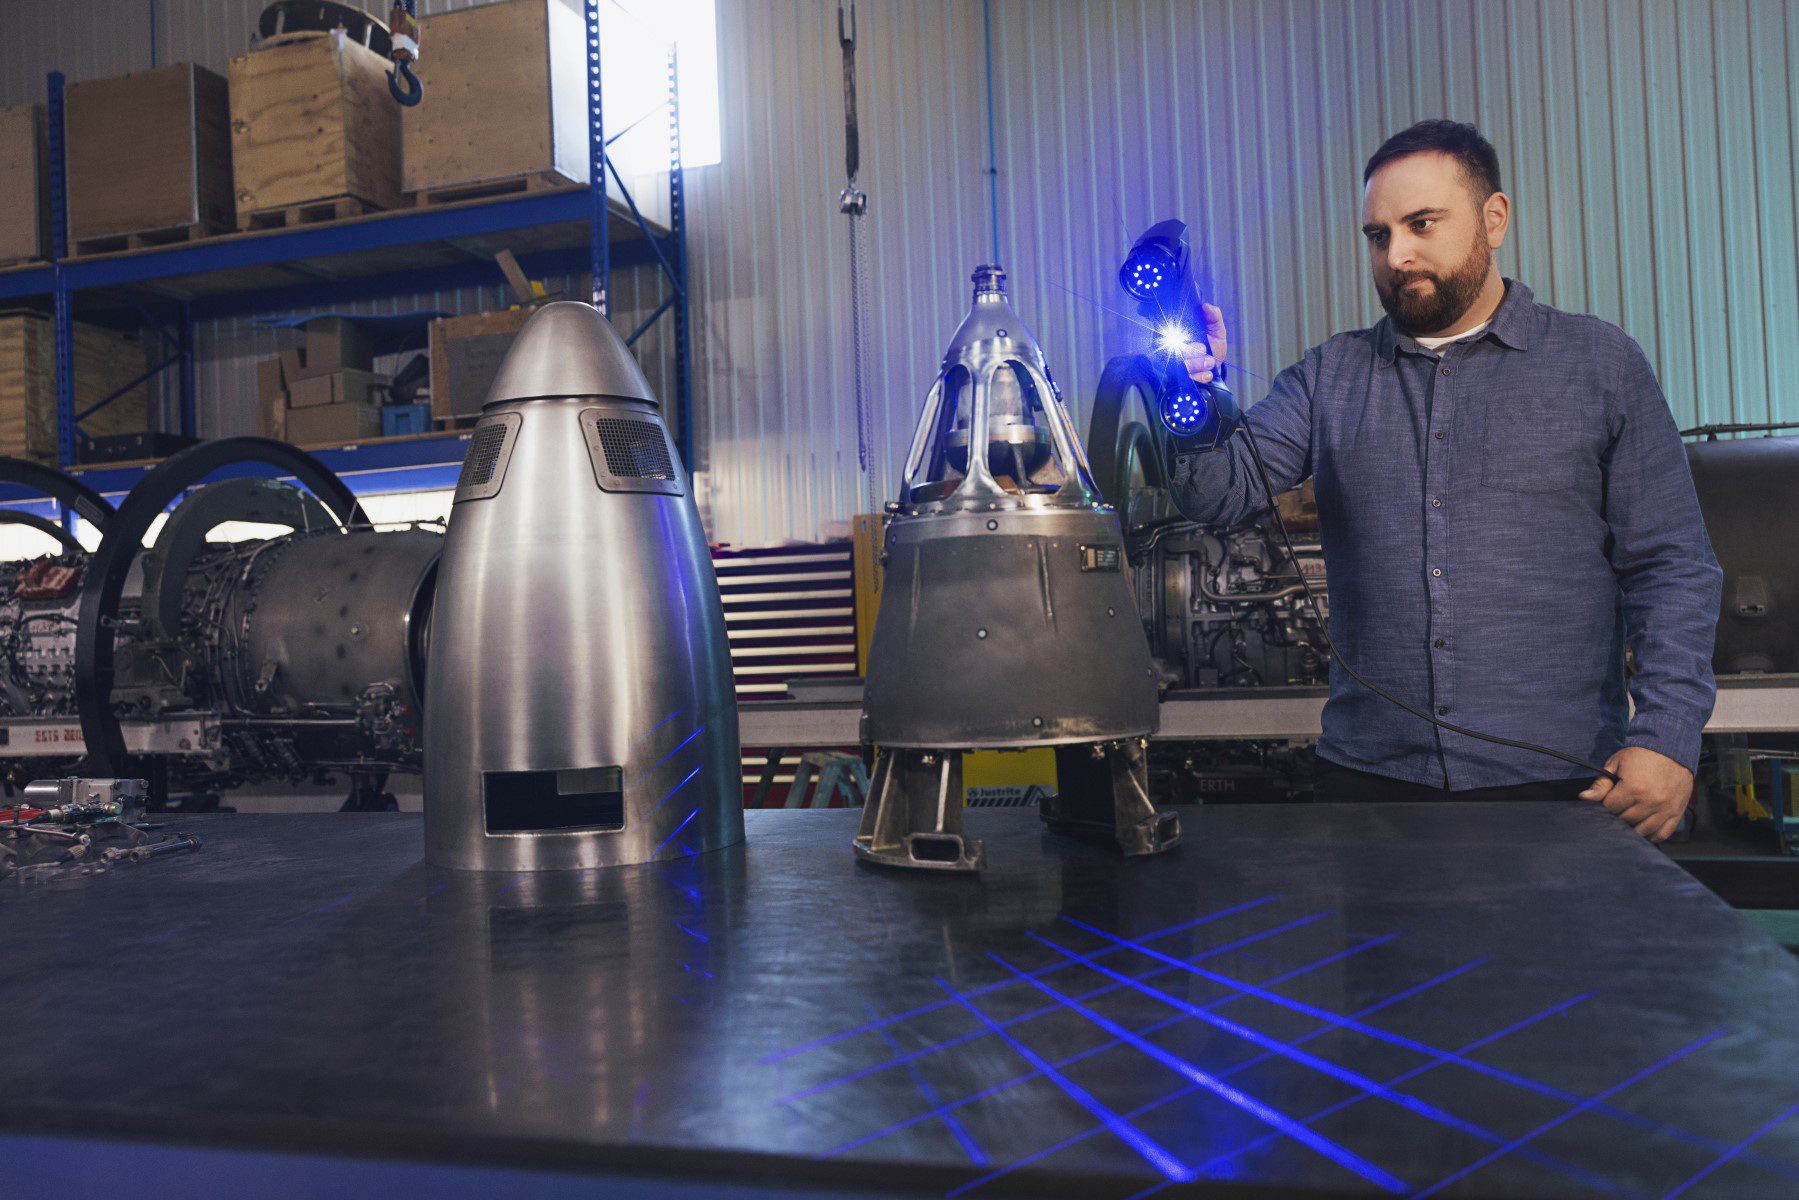
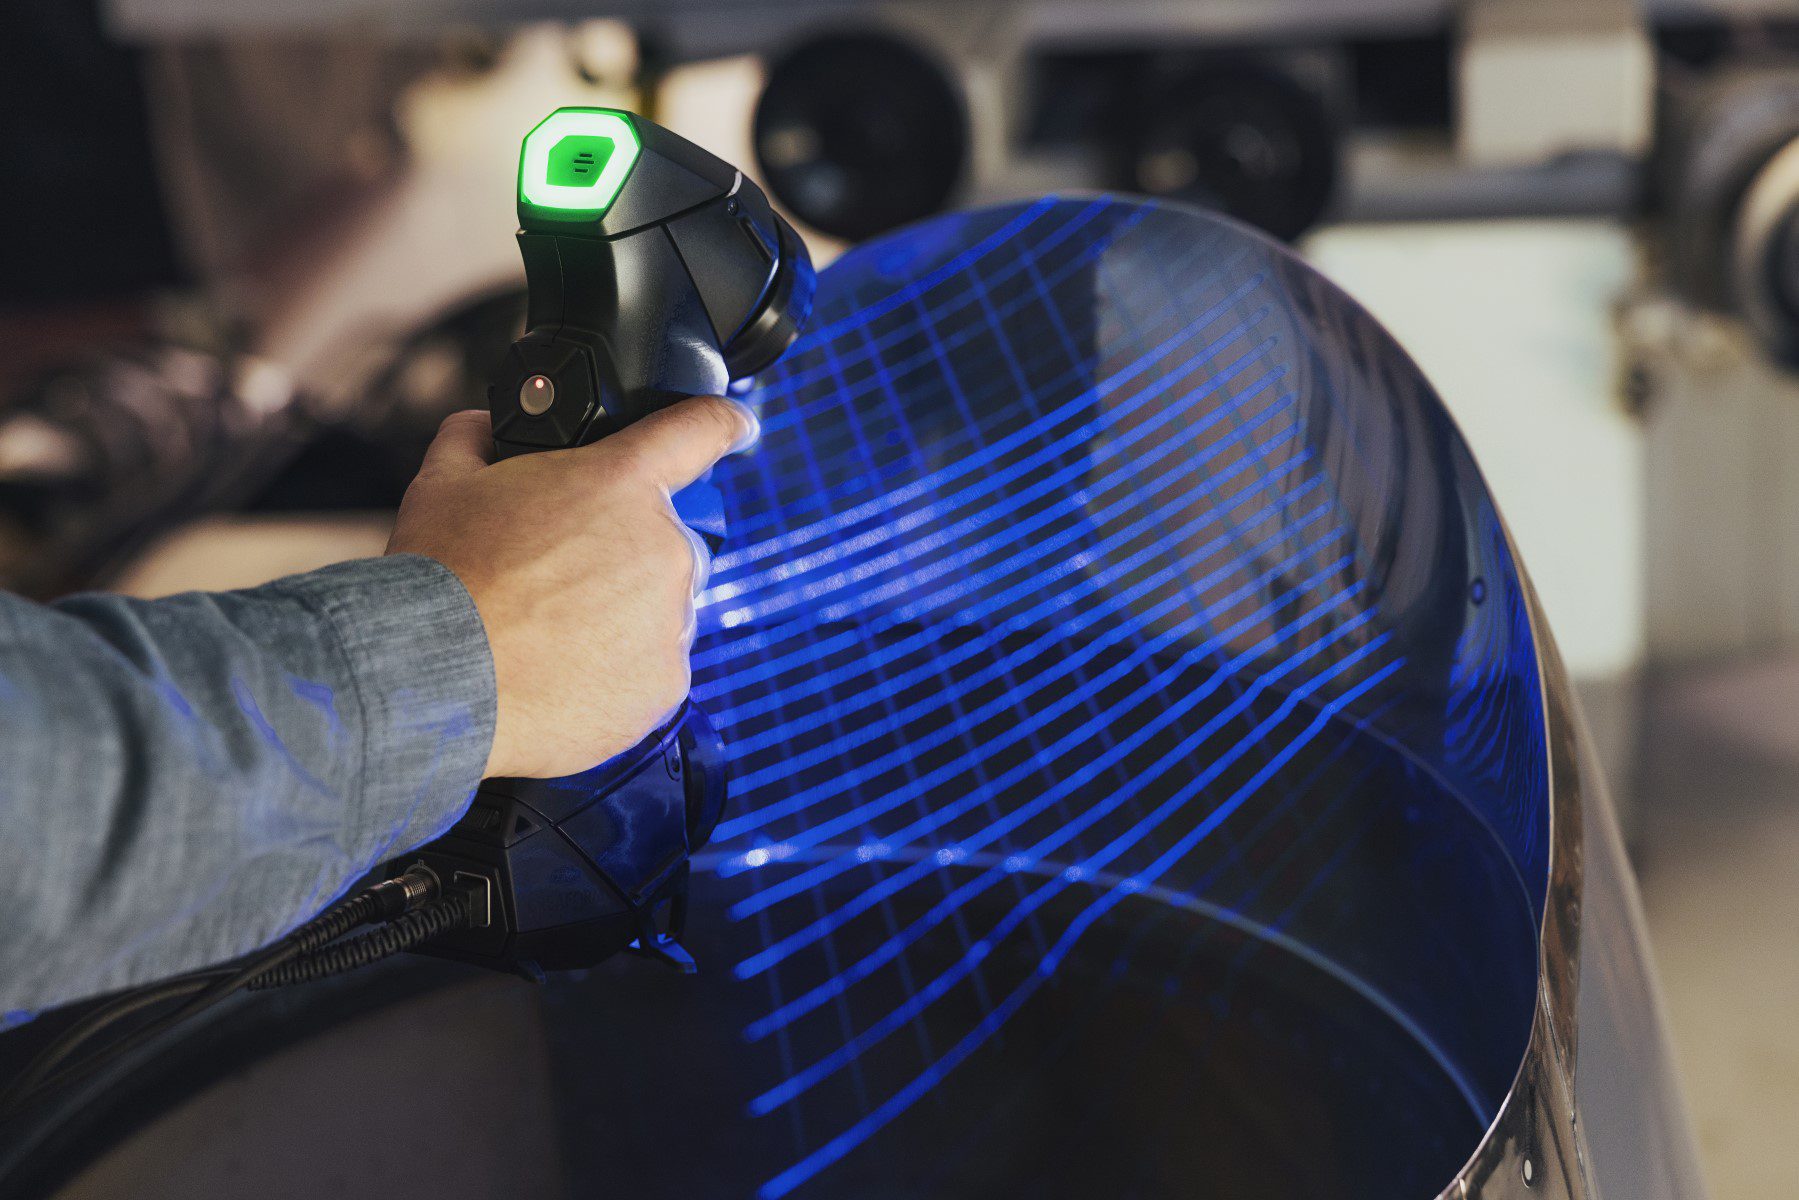
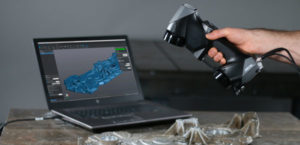
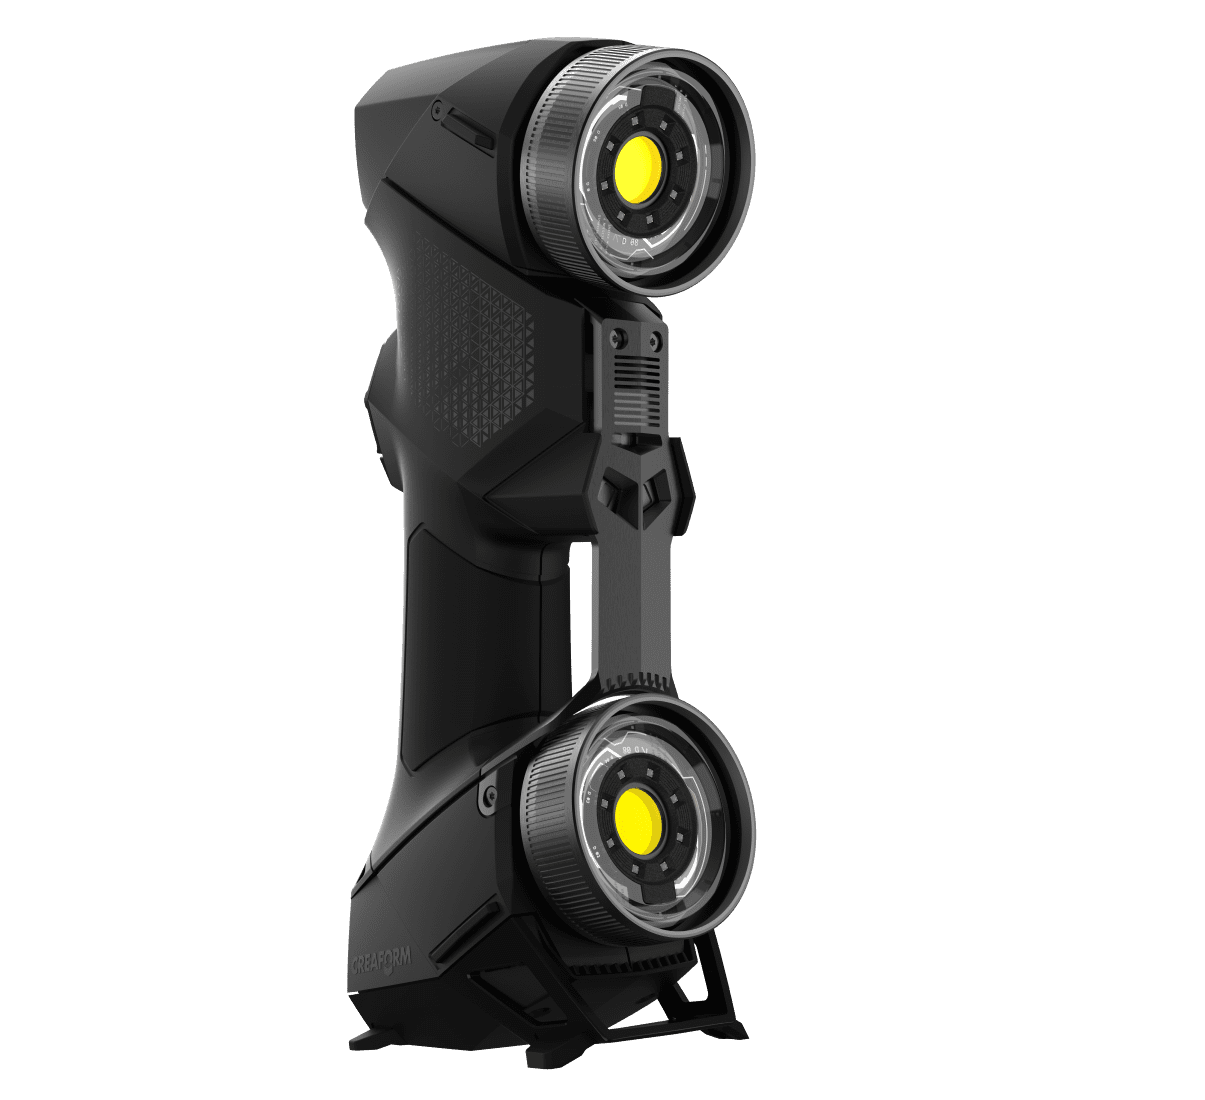
The HandySCAN 3D™ product range is the standard against which all other portable metrology‑grade 3D scanners are measured. Constant refinement makes this third-generation device a finely-honed instrument. It meets or exceeds the requirements of design, manufacturing and metrology professionals who want an efficient and dependable way to record precise 3D measurements of a physical object in any location.
Key Features
Want faster product development, more effective quality control, or both? This is the superior metrology-grade 3D scanner for your needs.
Let our experts find the right 3D measurement option for you!
Advantages
Flexibility & Ease of Use
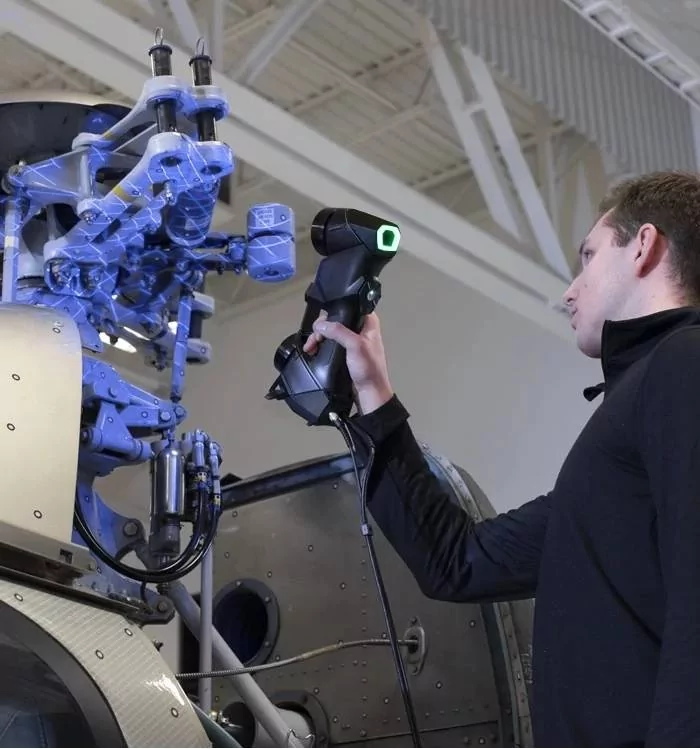
Scan a variety of object dimensions, structures, and surface compositions using the same process and without add-ons. Users appreciate its intuitive interface and user-friendly design, which minimizes training time and workflow.
Software
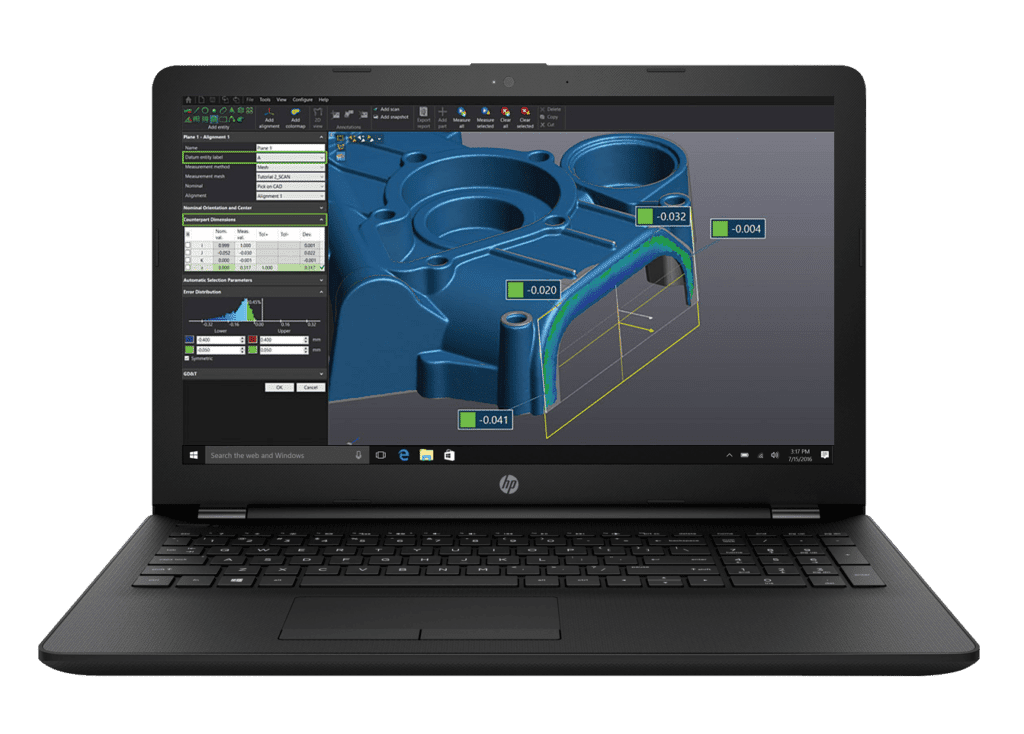
VXelements™ | 3D Software Platform
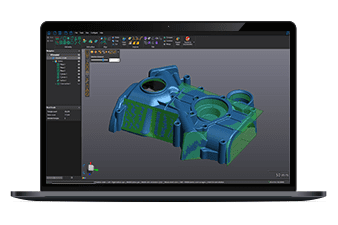
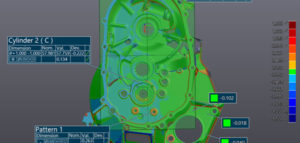
Your HandySCAN 3D includes VXelements, a powerful yet intuitive control centre for all the 3D scanning and measurement technologies we offer, including data acquisition, inspection and CAD modules. All the vital applications and components are conveniently packaged in an easy-to-use, streamlined user interface.
HandySCAN 3D Scanning Applications
Technical Specifications
|
|
|
Accuracy |
0.025 mm (0.0009 in) |
0.025 mm (0.0009 in) 0.012 mm (0.0005 in)1 |
Volumetric Accuracy (based on part size) |
0.020 mm + 0.040 mm/m (0.0008 in + 0.0005 in/ft) |
0.020 mm + 0.040 mm/m | 0.0008 in + 0.0005 in/ft 0.020 mm + 0.015 mm/m | 0.0008 in + 0.00018 in/ft2 0.012 mm + 0.015 mm/m | 0.0005 in + 0.00018 in/ft1, 2 |
Form Error (Sphere) |
N/A | 0.030 mm | 0.0012 in |
Form Error (Flat) |
N/A | 0.050 mm | 0.0020 in |
Measurement capabilities [at a working distance of 0.3 m | 1 ft] |
Pin ⊕ 0.750 mm | 0.0295 in Hole ⊙ 1.250 mm |0.0492 in Step ⊜ 0.025 mm | 0.0009 in Wall ⥑ 0.500 mm | 0.0197 in |
Pin ⊕ 0.750 mm | 0.0295 in Hole ⊙ 1.250 mm |0.0492 in Step ⊜ 0.025 mm | 0.0009 in Wall ⥑ 0.500 mm | 0.0197 in |
Measurement Resolution |
0.025 mm | 0.0009 in | 0.025 mm | 0.0009 in |
Mesh Resolution |
0.100 mm | 0.0039 in | 0.100 mm | 0.0039 in |
Measurement Rate |
1,300,000 measurements/s | 1,800,000 measurements/s |
Light Source4 |
22 blue laser lines (+ 1 extra line) |
30 blue laser lines (+ 1 extra line) |
Working Distance |
200 to 450 mm | 7.9 x 17.7 in | 200 to 750 mm |7.9 x 29.5 in |
Depth of Field |
250 mm | 9.8 in | 550 mm | 21.7 in |
Part Size Range (recommended) |
0.05–4 m | 0.15–13 ft | 0.05–4 m | 0.15–13 ft |
Software |
VXelements | VXelements |
Output Formats |
.dae, .fbx, .ma, .obj, .ply, .stl, .txt, .wrl, .x3d, .x3dz, .zpr, .3mf | .dae, .fbx, .ma, .obj, .ply, .stl, .txt, .wrl, .x3d, .x3dz, .zpr, .3mf |
Compatible Software5 |
3D Systems (Geomagic® Solutions), InnovMetric Software (PolyWorks), Metrologic Group (Metrolog X4), New River Kinematics (Spatial Analyzer), Verisurf, Dassault Systèmes (CATIA V5, SOLIDWORKS), PTC (Creo), Siemens (NX, Solid Edge), Autodesk (Inventor, PowerINSPECT) | 3D Systems (Geomagic® Solutions), InnovMetric Software (PolyWorks), Metrologic Group (Metrolog X4), New River Kinematics (Spatial Analyzer), Verisurf, Dassault Systèmes (CATIA V5, SOLIDWORKS), PTC (Creo), Siemens (NX, Solid Edge), Autodesk (Inventor, PowerINSPECT) |
Weight,/strong> |
0.94 kg (2.1 lb) | 0.94 kg (2.1 lb) |
Dimensions (LxWxH) |
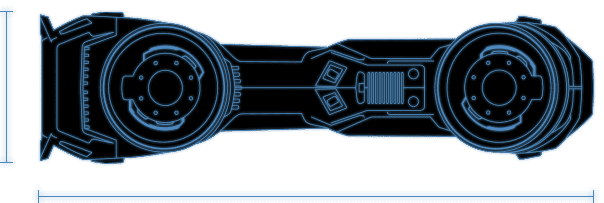
79 x 142 x 288 mm | 3.1 x 5.6 x 11.3 in | 79 x 142 x 288 mm | 3.1 x 5.6 x 11.3 in |
Connection Standard |
1 X USB 3.0 | 1 X USB 3.0 |
Operating Temperature Range |
5–40°C (41–104°F) | 5–40°C (41–104°F) |
Operating Humidity Range (non-condensing) |
10–90% | 10–90% |
Certifications |
EC Compliance (Electromagnetic Compatibility Directive, Low Voltage Directive), compatible with rechargeable batteries (when applicable), IP50, WEEE |
EC Compliance (Electromagnetic Compatibility Directive, Low Voltage Directive), compatible with rechargeable batteries (when applicable), IP50, WEEE |
Patents |
CA 2,600,926, CN 200680014069.3, US 7,912,673, CA 2,656,163, EP (FR, UK, DE) 1,877,726, AU 2006222458, US 8,032,327, JP 4,871,352, US 8,140,295, EP (FR, UK, DE) 2,278,271, EP (FR, UK, DE) 2,230,482, IN 266,573, US 7,487,063, CA 2,529,044, EP (FR, UK, DE) 3,102,908, US 15/114,563, CN 201580007340X | CA 2,600,926, CN 200680014069.3, US 7,912,673, CA 2,656,163, EP (FR, UK, DE) 1,877,726, AU 2006222458, US 8,032,327, JP 4,871,352, US 8,140,295, EP (FR, UK, DE) 2,278,271, EP (FR, UK, DE) 2,230,482, IN 266,573, US 7,487,063, CA 2,529,044, EP (FR, UK, DE) 3,102,908, US 15/114,563, CN 201580007340X |
1 Performance obtained with Limited Edition. Limited Edition is able to deliver improved accuracy through optimized manufacturing and calibration processes.
2 Performance obtained with scale bars included in the Accu+ Kit.
3 Performance tests done in Creaform’s ISO/IEC 17025 accredited calibration laboratories
4 Laser class: 2M (eye safe).
5 Also compatible with all major metrology, CAD, and computer graphic software through mesh and point cloud import.
