3D printing of dental crowns offers dental labs and dental clinics many advantages over traditionally manufacturing methods.
- Higher accuracy
- Faster turnaround times (including same-day crowns)
- More consistent results
- Lower costs
- Higher patient satisfaction
Still, despite the long list of benefits, many dental clinics still hesitate to adopt in-house digital dentistry tools. So we thought we’d go through the entire process that a dental clinic would use to create an accurate dental crown, ready for placement.
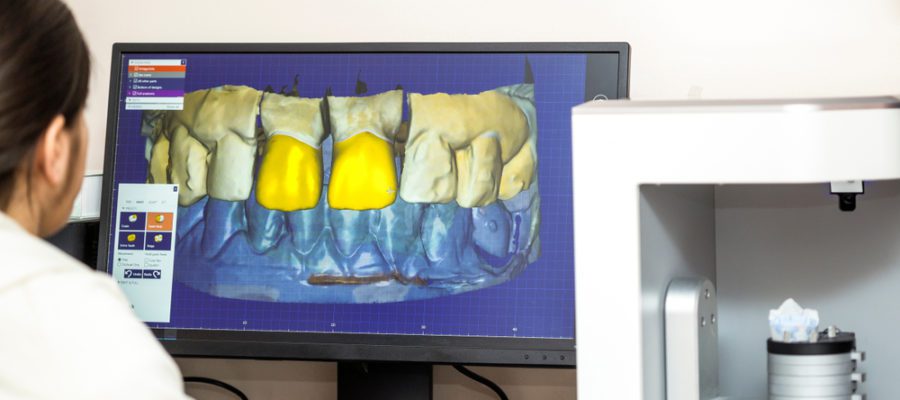
1. Intraoral Scan
The dentist needs to collect digital anatomical data of the patient’s teeth and mouth using an Intraoral scanner, like Medit Scan’s i500 and the i700. The data file from the scan is uploaded to the in-house workflow management system.
2. Prepare the Data
A technician imports the scan into the system, inspects it and removes unnecessary data. The technician then selects the portion of the scan that will be sent to the 3D printer, before creating support points on the scan for the 3D printing process. The final data preparation step is to export the file to the 3D printer.
3. Print the Crown
Before beginning the printing process, the technician inserts a resin tank, a resin cartridge and adds the printer’s build platform. The printing process is set in motion by choosing/selecting the correct file from the printer’s job queue.
4. Post Processing
After the print finishes, the build platform is taken away, and the crown is set into a wash for the first step in post-processing. Following a pre-set time, the crown is ready for inspection. If the technician finds any resin where there should be none, they can squeeze isopropyl alcohol on the unwanted resin and brush it away.
After drying the crown, the tech removes it from the build platform and places it in a curing box for a pre-determined length of time. When it’s ready, the technician removes the crown from the box and removes the print support structure from the crown. The technician then inspects the crown for accuracy, contours it if needed, and cures it a second time. After the second curing is complete, the crown is ready for placement.
To learn more about digital dentistry, check out our recent article Why Use an Intraoral Scanner?