-
Introduction
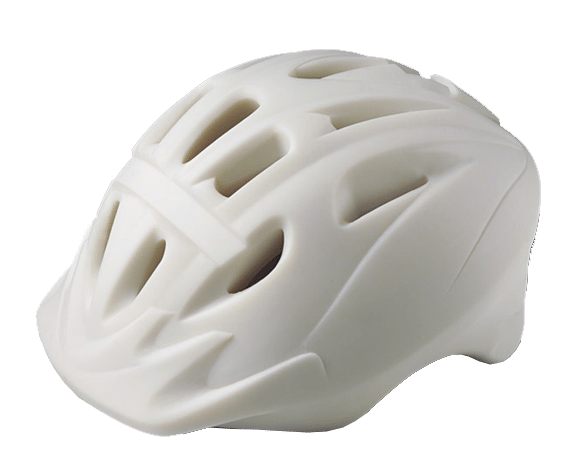
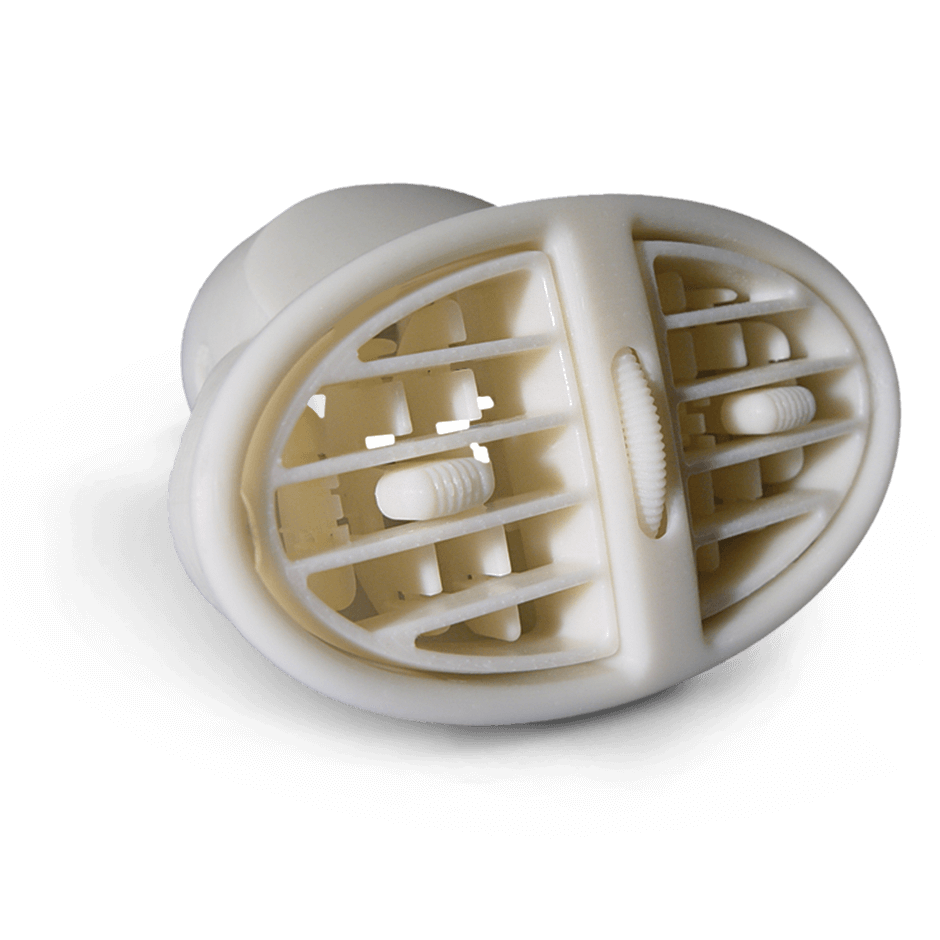
Stereolithography, otherwise known as SLA, is a 3D printing method which uses a laser to cure photopolymer resin layer by layer. SLA is famously known for producing smooth parts with extreme fine detail and high accuracy levels. Stereolithography uses a vat of liquid UV-curable photopolymer resin and also includes a UV laser to build 3D parts layer by layer. As each layer progresses, the laser beam carefully traces a part of the cross-section pattern on the surface of the liquid resin. UV laser light cures and solidifies patterns once it’s been exposed. Once a pattern has been traced, the elevator platform descends a single layer thickness. The thickness is usually 0.05 mm-0.15 mm (0.002 in.-0.006i= in.). After, a fresh material is re-coated as the resin-filled blade sweeps across the part section.
Through following these Stereolithography (SLA) 3D printing design guidelines your parts should come out as intended, but for additional questions and complex problems be sure to reach out to a member of our engineering team.
-
Technical Specifications
Feature Description Supported Walls Walls attached to structures on a minimum of two sides
Smaller chance of the product warping
Suggested design = 0.4 mm thickUnsupported Walls Walls attached to the print on fewer than two side
Walls have higher chance of warping/detaching from the print
0.6 mm thickness requiredOverhangs Overhangs only occur when your model is printed without substantial internal/external support structures Engraved Details (Including text) Details must be 0.4 mm wide and 0.4 mm thick Embossed Details (Including text) Required height of 0.1 mm above surface
This ensures details become visibleHorizontal Bridges Wider bridges must be kept shorter (21 mm) than thin bridges Holes X, Y, Z axis can close off during printing
To prevent this, have hole diameter less than 0.5 mmConnections/Moving Parts 0.5 space separating moving parts
0.2 mm space for assembly connections
0.1 mm space provides close knitted fitMinimum Features Recommended minimum = 0.8 mm -
Resolution
 Compared to FDM, SLA can reach a higher resolution as it uses a laser to solidify the material. When printing SLA in the horizontal/XY-direction, the laser spot and size can range from 30-140 microns. Note that the smallest feature size can’t be less than what the laser spot size is.
 -
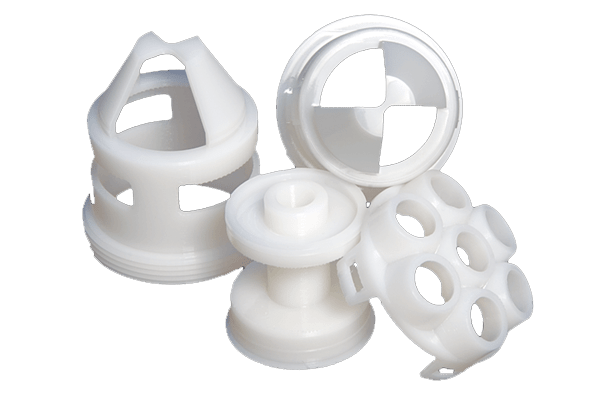
Hollowing And Cupping
SLA machines have the capability to print a solid and dense 3D printed model. Hollowing the model can reduce the required amount of material and it can also reduce the print time significantly. When printing, ensure the walls located on the hollowed print are a minimum of 2 mm thick. Failure becomes less likely during printing this way. Drainage holes are necessary when printing a hollow part to prevent uncured resin from getting trapped inside the final part. Pressure within the unsecured resin creates imbalances within the hollow chamber and will cause ‘cupping’ Cracks and holes spre
 ad throughout the part and will cause ultimate failure. Part explosion is also a possibility if not corrected/ The minimum requirement of drain holes are 3.5 mm in diameter, and a minimum of one hole must be involved per hollow section.
 -
Materials
 Accura Xtreme
 Accura ClearVue
Accura Bluestone
Accura 25
Accura 55
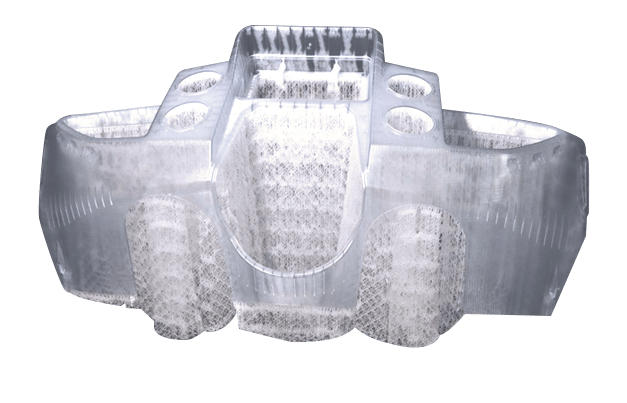
Somos Watershed 11122
-
Restrictions
Print Volume
Take into consideration that SLA printers have a significantly smaller build volume compared to FDM printers (besides commercial machines). The build volume when using The traditional SLA desktop printer, Formlabs Form 2, have a build volume of 145 mm x 145 mm x 175 mm. Meanwhile, the common FDM desktop printer, the Ultimaker 2+, offers a build volume of 223 mm x 223 mm x 205 mm. Another thing to keep in mind when printing with SLA is that if the print geometries exceed the printer capacity, they can be printed in smaller sections and then be assembled. Best practices when bonding SLA printed parts together is a 5-30 minute epoxy.Material Properties
If you’re looking to produce functional parts that are subjected to loads, it’s best to stray away from SLA parts. SLA resins tend to be brittle and not as reliable compared to other 3D materials. Over a certain amount of time, these SLA parts tend to experience creep. Curing in a UV chamber is needed for most SLA printed parts.SLA vs. FDM cost
Using SLA resin is higher in cost when comparing it to FDM filament. However, SLA holds the potential to print details with more complex details, while other 3D printing options, don’t hold that title. -
Common Resins
Resin Type Description Application Standard Resin Used for generic printing
High detailed finish
Resolution less than 25 micronsUsed to achieve high detail prototyping
Works with models that are not functionalEngineering Resins Resin manufacturers have been simulating engineering plastics
ABS/polypropylene-like/flexible/high temperature resins
Resins have stronger engineering propertiesDurable
Flexible
Used in high temperature applicationsDental Resins Often used for general orthodontics
Class 1/2 bio-compatible resin released to allow SLA technology to create surgical guides
Highly precise and durableDental applications Castable Specialized in fine detail
Delicate feature printing
Designed for direct investment casting
Minimum feature size is 0.2 mmJewllery
Fine detail models
Investment casting applications -
Post-Processing
SLA has a wide range of surfaces finished which are determined by cost and application. Details with features as small as 0.3 mm are possible when using SLA printers. However one of the biggest issues faced when using an SLA printer is that prints are made extremely small, therefore most prints should be put on an angle. Support structures are necessary when SLA printing
Process Description Pros Cons Basic Support Removal Support structure cut from the model
Results in bumpy surface100% control of finish
Drilling achieves vertical hole diameter accuracy
Suitable for all SLA resins
High speed
Moderate toleranceNot appealing
Required amount of skills needed to get a clean finishSanded Support Nibs Made for flat surfaces Surface accuracy
Matte finishes hide imperfections
Suitable for all SLA resins
High speedUneven surfaces
Not aesthetically pleasingWet Sanded Smoothest finishes
Build lines require sanding
Finish is cheap using high grade sandpaperSmooth finish
Useful for complex geometries
Ideal surface preparation for paintingAccuracy is low on supported side
Mixing sand and water could lead to spots on your printMineral Oil Finish Process relates to wet sanded finish, except oil layer is added after sanding process
Mineral oil hides white spots on finsih
Finish is made best for mechanical partsSemi transparent finish for clear resins
Suitable for all SLA resinsPaint doesn’t adapt to finish surface properly Spray Paint (clear UV protective acrylic) Spray painting makes layer lines invisible
Varnish protects the model from yellowing and post curing by limiting UV exposureClear finish
Offers UV protection
Suitable for all SLA resins‘Orange peel effect’ on surfaces
Increases dimensions
Not made for moving partsPolished-Clear Transparent Finish Grit levels of sandpaper are used to sand the surface
Polishing compound is then sued to polish the surface
This leaves the most clear surface possible, but can be time consuming
Finish is made for simple shapesFinish is as clear as glass
Smooth surfaceIntense labour involved
Not attainable without complex geometries
Only suitable for clear resin
- Company
- Products
- Manufacturing Services
- Resources
- Why Silicone 3D Printing?
- Fuse 1 | SLS Design Guidelines
- Technical Support, Repairs for 3D Printing, CNC Milling, 3D Scanning
- Terms and Conditions – Annual Maintenance Contract Proto3000
- Billable Technical Support & Repair Services
- Proto3000 Webinar Series
Skip to content

Stereolithography (SLA) 3D Printing Design Guidelines
Ensure that your parts are 3D printed to specification with these guidelines for Stereolithography 3D printing technology.
3D Printing Services
- Additive Manufacturing Services
- 3D Printing Technologies
- Finishing and Assembly
- Digital Light Processing (DLP) Design Guidelines
- MJF Design Guidelines
- PolyJet 3D Printing Design Guidelines
- FDM Design Guidelines
- SLA 3D Printing Design Guidelines
- SLS Design Guidelines
- BMD Design Guidelines
- Metal Binder Jetting Design Guidelines
- DMLS Design Guidelines